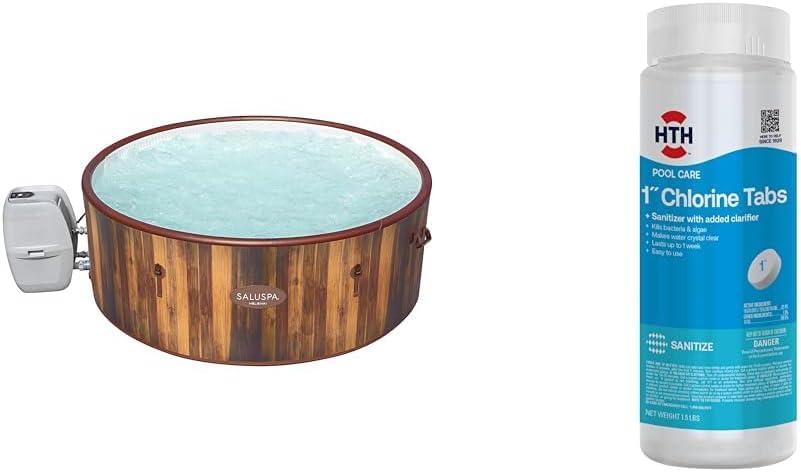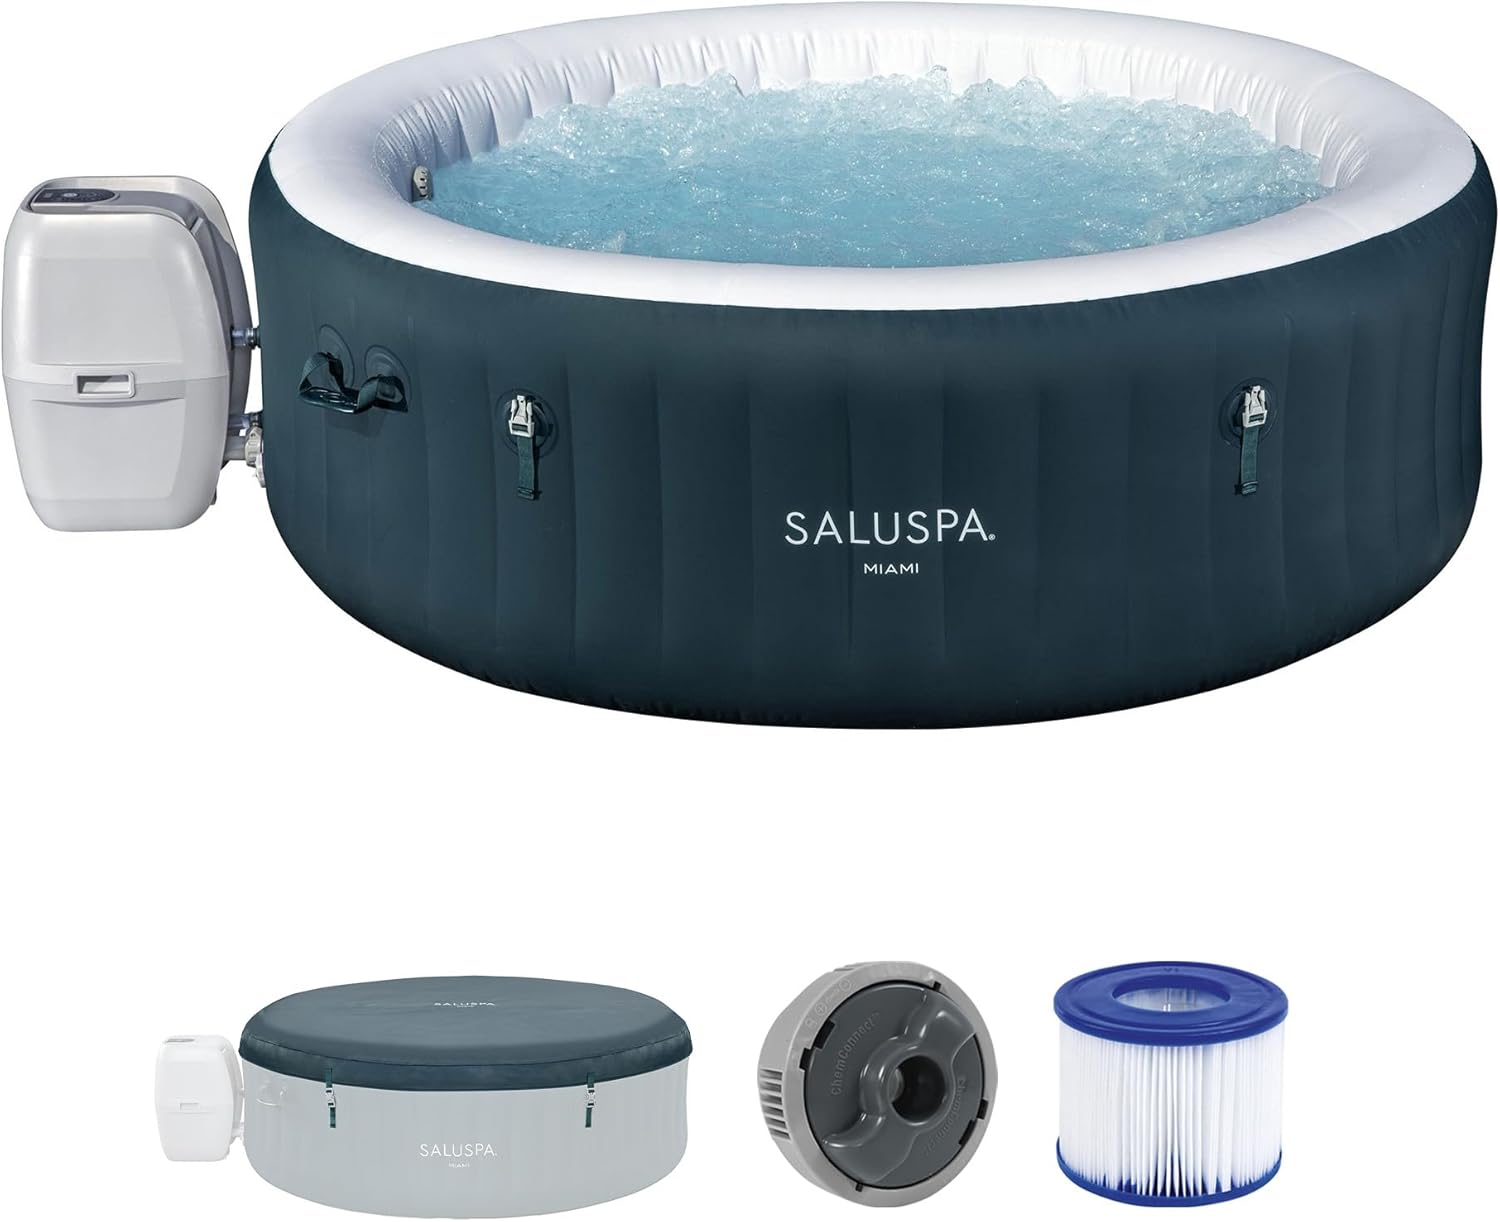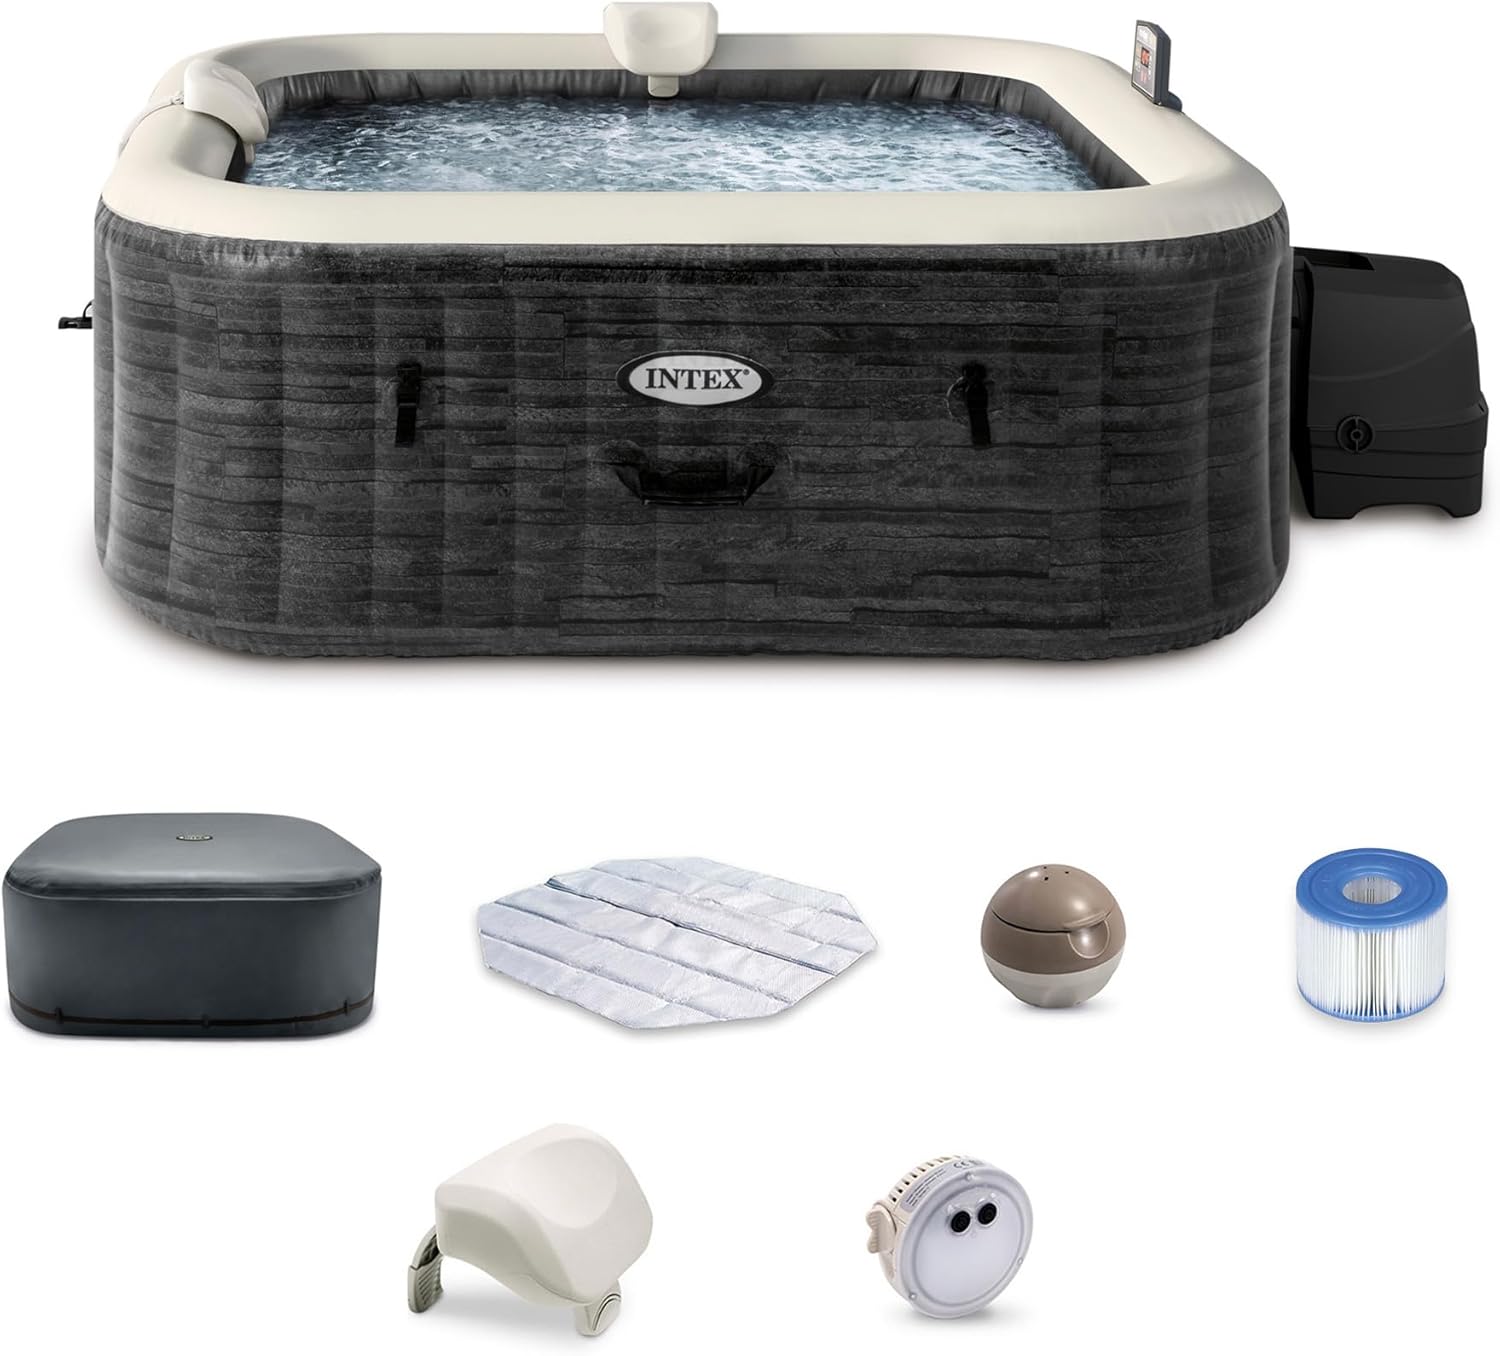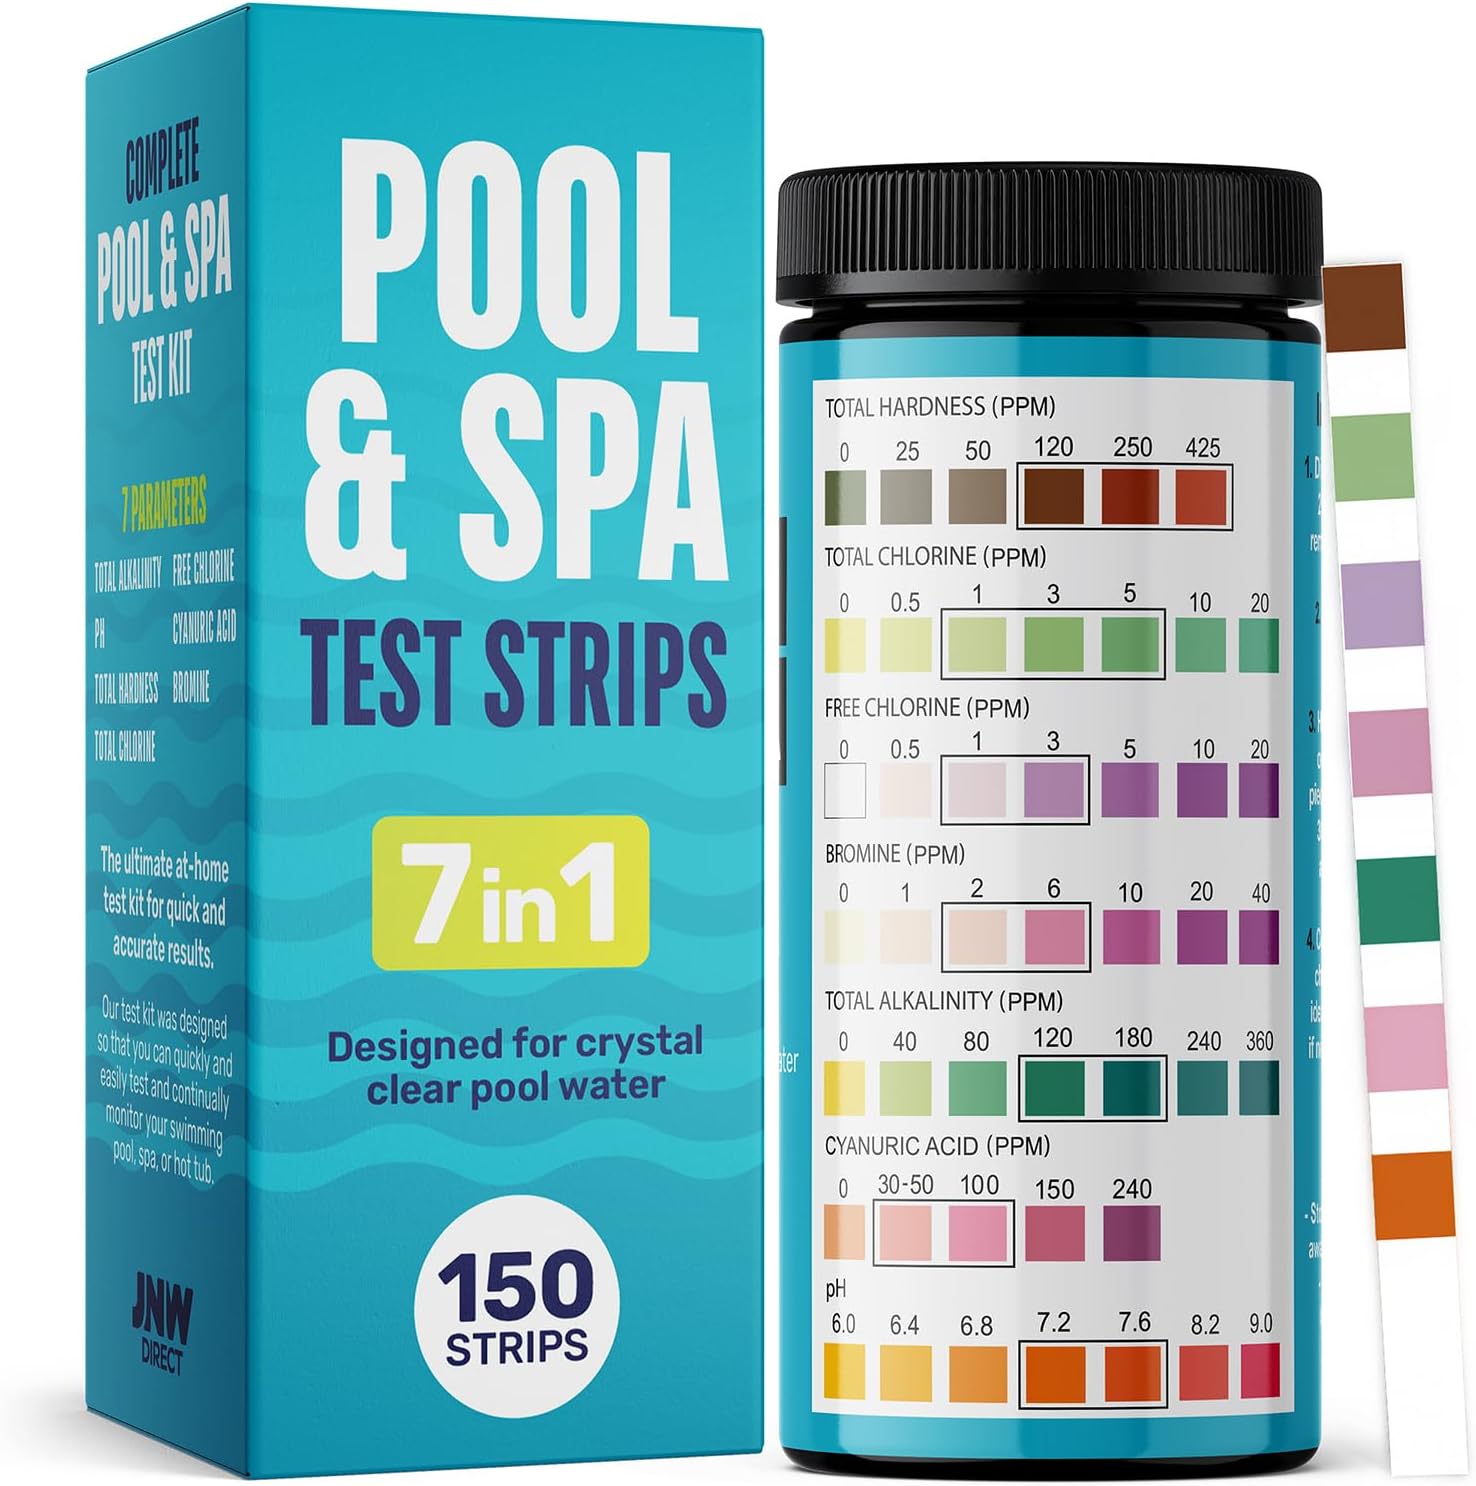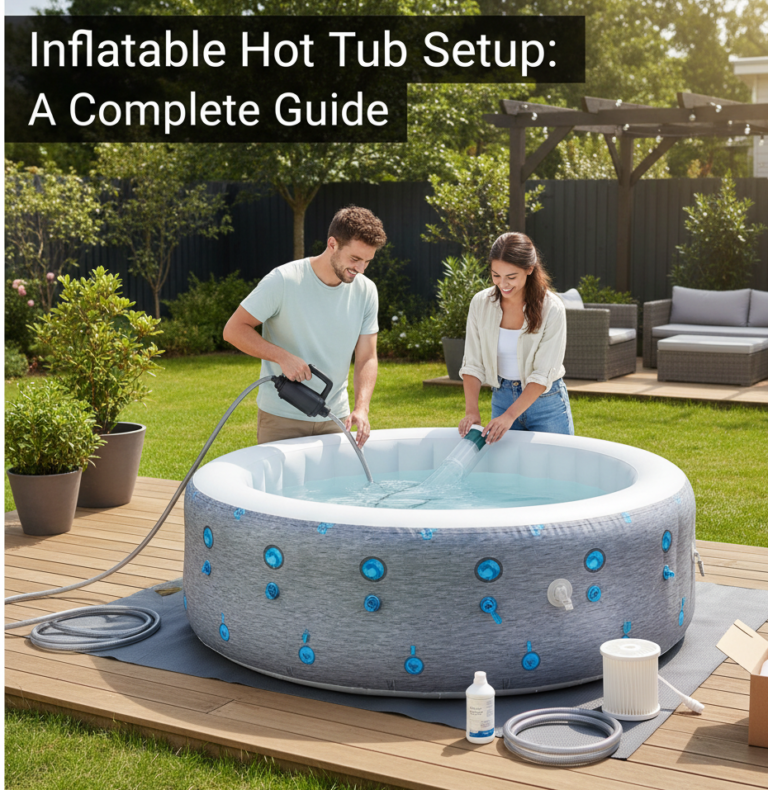
The Ultimate Inflatable Hot Tub Setup Guide: From Box to Bliss in 10 Steps
The moment has arrived. That big, heavy box on your doorstep holds the promise of countless hours of relaxation, starlit soaks, and bubbling bliss. But between you and that first perfect dip is the setup process. For a first-timer, it can seem intimidating. Will it be level? Do I need special tools? What do I do with chemicals?
Relax. You’ve come to the right place. As a team that has set up dozens of inflatable hot tubs—from the compact Bestway SaluSpa Miami to giant 8-person models—we’ve seen it all. We’ve made the rookie mistakes, discovered the pro shortcuts, and distilled everything into this single, definitive guide. Think of us as your personal setup expert, here to ensure your journey from a sealed box to a sparkling spa is smooth, successful, and frustration-free.
The 10-Step Setup Checklist
Here’s the entire process at a glance. We’ll dive deep into each step below.
- Choose & Prepare Your Location: Find a level, stable spot with proper clearance and power.
- Unbox & Inspect: Carefully open the box and lay out all the parts.
- Connect the Pump Unit: Hand-tighten the three main connections.
- Inflate the Spa Liner: Use the pump’s massage function to self-inflate the tub.
- Inflate the Cover: Use the same method to inflate the insulated cover’s air bladder.
- Install Filter Housing: Screw the filter cartridge and housing into the liner.
- Fill with Water: Use a garden hose (ideally with a filter) to fill to the MAX line.
- Power On & Activate Heater: Secure the connections, plug in the GFCI, and set your desired temperature.
- Balance Water Chemistry: Add your initial doses of chemicals to the fresh water.
- Cover & Wait: Put the insulated cover on and let the spa heat up (this takes 24-48 hours).
Part 1: Before You Unbox – The Crucial Planning Stage
Success is all in the preparation. Spending 30 minutes on planning now will save you hours of headaches later. This is the most important part of the entire process.
Choose Your Location
Where you place your tub is the most critical decision you’ll make. It must meet these four criteria:
- It MUST Be Level: This is non-negotiable. An unlevel surface puts uneven stress on the spa’s seams and can cause it to fail. Use a long carpenter’s level to check your spot. A slope of more than 1 inch over 8 feet is too much.
- It MUST Be a Smooth, Solid Surface: Clear away all sharp rocks, sticks, and other debris. Ideal surfaces include a concrete patio, smooth pavers, or a reinforced deck.
- It MUST Have Clearance: You need at least 2-3 feet of clear space around the entire tub for the pump unit, for safe entry and exit, and for maintenance access.
- It MUST Have Power: Your spa needs to be within reach of a GFCI-protected outdoor electrical outlet. Most spa cords are around 10-15 feet long.
CRITICAL DECK WARNING: Know Your Weight Limits!
A filled 4-person inflatable hot tub can weigh over 2,000 pounds (900 kg) with people inside. A larger 6-person model can exceed 3,000 pounds. This is like parking a small car on your deck. Many residential decks are NOT built to handle this concentrated load. **Before placing a hot tub on a deck, you must consult a qualified contractor or structural engineer to verify its load capacity.**
A Closer Look at Your Power Requirements
Most inflatable spas are designed to plug directly into a standard 15 or 20-amp household circuit — no electrician required for the majority of setups. That said, a few electrical details are worth double-checking before delivery day. First, never use a standard indoor extension cord to reach your outlet; if you truly need extra length, use only a heavy-duty (12-gauge or lower) outdoor-rated extension cord no longer than absolutely necessary, since voltage drop over long, thin cords can cause heating and error codes. Second, confirm the outlet is genuinely GFCI-protected — either a GFCI outlet itself or a GFCI breaker at your panel — since this is a non-negotiable safety requirement for any electrical device near water. Third, avoid sharing that circuit with other high-draw appliances (like a window air conditioner or a chest freezer); tripped breakers from circuit overload are one of the most common “my spa won’t turn on” complaints we hear. If your dream spot is more than an outlet’s reach from power, it’s worth the modest cost of having a licensed electrician install a dedicated outdoor GFCI outlet rather than fighting with cord extensions all summer.
Pro-Tip: Insulate Your Foundation to Save Money
Placing your tub directly on cold ground is a major source of heat loss. For a huge boost in energy efficiency, lay down 1-inch thick rigid foam insulation boards (from any home improvement store) under your ground cloth. This creates a thermal break from the cold ground and can significantly reduce your monthly heating costs. This is an absolute must if you plan to attempt cold-weather soaking, a topic we cover in our guide to the best inflatable hot tub for winter.
Gather Your Toolkit
Your spa comes with almost everything you need, but having these items on hand will make “Setup Day” a breeze.
Box Cutter
To carefully open the box.
Garden Hose
To fill the tub.
Hose-End Filter
Highly recommended to remove metals and minerals from your tap water.
Chemical Starter Kit
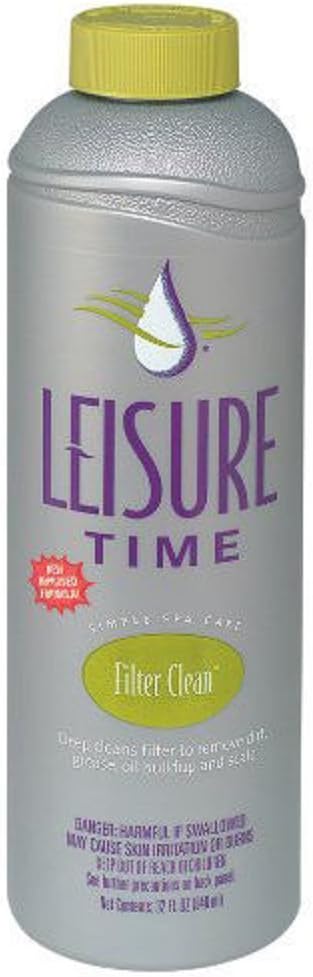
You MUST treat the water immediately. Have sanitizer, balancers, and test strips ready.
Part 1B: Sizing It Right Before You Even Unbox
If you haven’t purchased your spa yet, or if you’re still deciding where the box on your porch is actually going to live long-term, it pays to think hard about capacity. The single most common regret we hear from first-time owners isn’t about setup difficulty at all — it’s “I wish I’d bought the next size up” or, less often, “this thing is way bigger than we need and it’s costing us a fortune to heat.” Getting the size right before you unbox saves you from a return shipping headache and sets your running costs on the right footing from day one.
Inflatable spas are generally sold by their advertised seating capacity, but that number describes shoulder-to-shoulder capacity for people of average build, not the number you’ll comfortably soak with on a regular Tuesday night. A realistic rule of thumb is to subtract one or two people from the advertised capacity if you want everyone to actually stretch out.
2-Person Compact
Roughly 110-130 gallons. Best for a couple, a small patio, or an apartment balcony (weight permitting). Heats fastest and cheapest to run.
4-Person Standard
Roughly 170-210 gallons. The most popular size for small families. A good balance of running cost and usable space.
6-Person Family
Roughly 260-320 gallons. Needs a genuinely large, flat footprint and a beefier electrical circuit. Popular for entertaining.
8-Person Party
350+ gallons. The most expensive to fill, heat, and chemically treat. Only worth it if you’ll regularly host groups.
Water volume matters more than seat count when you’re estimating ongoing costs, because every additional gallon is more water your heater has to warm from scratch and more water your sanitizer has to keep clean. Doubling your gallon count doesn’t just double your fill time; it meaningfully increases your monthly electricity bill and your chemical budget, both of which we break down in detail below.
Apartment and condo dwellers considering a balcony setup face an extra layer of caution beyond a standard backyard install. Balconies are typically engineered for a distributed live load intended for furniture and foot traffic, not the concentrated few-thousand-pound weight of a filled spa sitting in one spot. Before even measuring the footprint, check your building’s structural documentation or ask a property manager about the balcony’s rated load capacity, and strongly consider a written sign-off from a structural engineer if that information isn’t readily available. It’s also worth checking your lease or condo association rules, since many explicitly restrict hot tubs, water features, or heavy fixed equipment on balconies regardless of weight capacity. A small 2-person model on a ground-floor patio is a very different proposition than the same model on a fourth-floor balcony, so weigh location as heavily as headcount when narrowing down your size choice.
Pro-Tip: Measure Twice, Buy Once
Before you order, go outside with painter’s tape or a garden hose and mark out the actual footprint of the model you’re considering, including the 2-3 feet of clearance you’ll need around the perimeter. Many buyers are surprised that a “4-person” spa has an outer diameter well over 6 feet once you account for the inflatable wall thickness.
Part 1C: What Will It Actually Cost to Run?
The sticker price on the box is only the beginning of the story. Before you commit your patio to a permanent spa, it’s worth understanding what you’ll be paying every single month to keep that water hot and clean. The good news: inflatable models are the cheapest category of hot tub to operate. The less-good news: “cheapest” still means a real number shows up on your utility bill, and it swings wildly depending on your climate, your habits, and your electricity rate.
Electricity: The Biggest Line Item
Most inflatable spas plug into a standard 110-120V household outlet and draw somewhere between 1,300 and 1,500 watts while the heater is actively running. The pump itself typically pulls a much smaller, continuous load. Put together, a typical inflatable spa consumes roughly 3 to 7.5 kilowatt-hours (kWh) per day, depending on outdoor temperature, insulation, and how often the heater cycles on.
At the U.S. average residential rate of around 15-17 cents per kWh, that works out to a fairly wide range:
| Scenario | Typical Daily Use | Estimated Monthly Cost |
|---|---|---|
| Small 2-3 person spa, mild climate, well covered | ~3 kWh/day | $10 – $20 |
| Standard 4-person spa, moderate climate | ~4-5 kWh/day | $20 – $35 |
| Larger 6+ person spa, cold climate, frequent use | ~6-7.5 kWh/day | $40 – $80+ |
Two variables move that number more than anything else: outdoor temperature and cover quality. A spa left uncovered, or covered with a worn-out lid that’s lost its seal, can lose the majority of its heat to the air, forcing the heater to run nearly non-stop. A properly inflated, well-fitted cover can cut heat loss dramatically and is, dollar for dollar, the single best energy investment you can make in your setup.
Water and Chemicals: The Recurring Small Costs
Beyond electricity, budget for two more recurring categories. First, the water itself: refilling a mid-sized spa uses somewhere in the neighborhood of 200-300 gallons, which at typical municipal rates costs only a few dollars per fill — inexpensive on its own, but it adds up if you’re draining and refilling every few weeks. Second, chemicals: sanitizer, pH and alkalinity balancers, shock treatment, and test strips typically run $20-$40 per month for an actively used spa, more if you use bromine instead of chlorine.
Simple Ways to Cut Your Running Costs
- Keep the cover on whenever the spa isn’t in use — this is the single biggest lever you have.
- Add rigid foam insulation underneath and, on some models, an insulating wrap around the sides.
- Lower the set temperature a few degrees during stretches when you won’t be using the spa daily; most owners find 100-101°F still feels great and costs noticeably less to maintain than the maximum 104°F.
- Shield it from wind with a fence, screen, or hedge — moving air dramatically accelerates heat loss.
- Avoid turning it off completely between uses if you plan to soak again within a few days; reheating a fully cooled tub from scratch usually costs more in the long run than maintaining a steady temperature.
Budgeting Rule of Thumb
Most owners land somewhere between $20 and $50 a month in electricity, plus another $20-$40 in water care products, for a typical 4-person model used a few times a week. Heavy winter use in a cold climate can push the electricity portion considerably higher, which is exactly why the insulation tips in Step 1 above aren’t optional extras — they’re the difference between an affordable hobby and an expensive one.
Part 2: The Main Event – Step-by-Step Assembly
With your site prepared, it’s time for the exciting part. The hands-on process for most models, like the best-selling Coleman SaluSpa or its main rival from Intex (see our Intex vs. Coleman comparison), is remarkably similar and tool-free.
Unbox, Unroll & Connect
Carefully cut open the box and lay out the ground cloth on your prepared spot. Unroll the spa liner on top of it. If it’s a cool day, let the vinyl sit in the sun for 30 minutes to become more pliable.
Next, connect the pump unit. You’ll see three ports on the liner and three corresponding connections on the pump (often labeled A, B, C). Simply screw them on. Hand-tighten only! Using tools can crack the plastic fittings.

Inflate the Spa & Cover
This is where the magic happens. Find the short, black inflation hose. Attach one end to the pump’s “T” connector (where the bubble jets come out) and the other end to the air valve on the side of the liner. Press the “Massage/Bubble” button on the control panel. The pump will come to life and inflate the entire spa in about 10-15 minutes.
Inflate until the walls are firm to the touch but still have a little give when you press hard. Do not overinflate. Once the main tub is done, use the same process to inflate the small air bladder for the insulated cover.
Install Filters & Fill with Water
Go inside the tub and locate the two water ports. Screw the filter cartridge onto the lower port’s housing and then screw the entire housing into place. Attach the top screen to the upper port.
Now, grab your garden hose and start filling! We strongly recommend a hose-end filter to remove impurities from your tap water. Fill the water until it’s between the MIN and MAX lines printed on the liner. This can take 45-90 minutes depending on your water pressure.
Power On and Start Heating
Double-check that all connections are hand-tight. Plug the large GFCI plug into your outdoor outlet. Press the reset button, then press the power button on the control panel. You should see the current water temperature display. Press the heat button (flame icon) and use the arrows to set your target temperature (104°F is the maximum). You’ll hear the pump hum to life and begin heating and filtering.
Troubleshooting an Immediate Error?
If your pump immediately shows an error code (like the common E90 on an Intex), don’t worry. This is often caused by an airlock from the initial fill. Our comprehensive Intex PureSpa Troubleshooting guide has simple, step-by-step fixes for this and other common issues.
Part 2B: Choosing Your Sanitizer System
Before you get to Step 7 and start balancing your very first fill, it’s worth pausing to decide which sanitizer system you’re actually going to run long-term. This decision shapes your weekly routine for as long as you own the spa, so it deserves more thought than just grabbing whatever bottle is on the shelf at the hardware store.
| System | How It Works | Best For | Typical Monthly Cost |
|---|---|---|---|
| Chlorine | Granules or tablets added directly to the water; oxidizes and kills bacteria quickly. | Budget-conscious owners who don’t mind testing and dosing every few days. | $10 – $20 |
| Bromine | Tablets held in a floating dispenser, building a steady “bromine bank” in the water. | Frequent users and those with sensitive skin who want more stable, hands-off levels. | $20 – $35 |
| Saltwater / Salt Chlorine Generator | A small cell converts dissolved salt into chlorine automatically through electrolysis. | Owners who want the softest water feel and are willing to pay more upfront for the cell. | $10 – $20 (plus periodic cell replacement) |
Chlorine remains the default choice for most inflatable spa owners because it’s inexpensive, widely available, and acts fast — a real advantage if your water chemistry drifts and you need to correct it quickly. The tradeoff is that it can feel a bit harsher on skin and eyes if levels aren’t kept in check, and it breaks down faster in hot water and direct sunlight, meaning more frequent top-ups.
Bromine is popular with owners who soak often, because it forms a more stable reserve in warm water and many people find it gentler on the skin. It typically costs more per month than chlorine and reacts a bit more slowly if you need to correct a chemistry problem in a hurry, so it rewards a consistent testing routine rather than last-minute fixes.
Saltwater systems have grown popular for their softer feel, but it’s worth understanding that a saltwater spa is still a chlorine spa — the salt cell simply manufactures chlorine on-site through electrolysis rather than requiring you to add it by hand. This means less day-to-day dosing, but the tradeoff is a higher upfront cost for the generator cell, occasional cell replacement, and the need to keep a close eye on salt concentration and metal component corrosion. Not every inflatable model is built to accommodate a salt system, so check your manufacturer’s guidance before converting, and never mix bromine and chlorine-based systems without a complete drain and refill in between — combining them can create harsh, irritating byproducts.
Pro-Tip: You Can Always Switch Later
Don’t agonize over this decision before your first fill. Chlorine is a perfectly sensible default for your first few months of ownership. If you later decide bromine’s steadier levels or a salt system’s softer water are worth the extra cost, you can switch — just remember that changing sanitizer families requires a full drain, clean, and refill so the old chemical doesn’t react with the new one.
Part 3: After You Fill – The Critical First-Time Water Treatment
Your tub is full, but it’s not ready for soaking. You are now looking at a large tub of untreated water, which is a perfect breeding ground for bacteria. Treating the water correctly from the start is the key to a healthy spa.
Balance Your Fresh Water
Fresh tap water is rarely perfectly balanced for a hot tub. Balancing it now will make your sanitizer far more effective.
- Test the Water: Dip a test strip into your new water and see the starting levels.
- Adjust Alkalinity FIRST: Your Total Alkalinity should be between 80-120 ppm. Add an “Alkalinity Up” product if needed. Circulate the water for 20 minutes.
- Adjust pH SECOND: Your pH should be between 7.4-7.6. Add “pH Up” or “pH Down” as needed. Circulate again.
This balancing act is the core of your weekly tasks. For a deep dive into the why and how, check out our master guide to Inflatable Hot Tub Maintenance.
Sanitize & Shock
With the water balanced, it’s time to make it safe.
- Add Sanitizer: Add your initial dose of chlorine granules (typically 1-2 tablespoons, check the package) to establish a baseline sanitizer level of 1-3 ppm.
- Shock the Water: “Shocking” is a super-dose of oxidizer that eliminates any contaminants from your source water. Add a dose of non-chlorine or dichlor shock. This is a critical step for starting with perfectly clean water.
Part 3B: Common First-Time Setup Mistakes to Avoid
We’ve walked through hundreds of first-time setups, and the same handful of avoidable mistakes come up again and again. Here’s what to watch for so yours goes smoothly.
- Skipping the level check. “It looks flat” is not the same as “it is level.” A spa that settles unevenly under the weight of the water can develop wrinkles, uneven stress on the seams, and in worst cases, a shortened lifespan. Always use an actual level, not your eyes.
- Overinflating the liner. Firmer is not always better. An overinflated wall has less give to absorb the pressure of the water and bathers, which can stress seams over time. Firm with a slight give is the correct feel.
- Using tools on the fittings. Wrenches and pliers can easily crack the plastic threads on your pump connections. Hand-tight is genuinely tight enough; if a fitting is leaking, check for a misaligned O-ring rather than reaching for a tool.
- Filling before the filter is installed. Water pressure can make it awkward to thread the filter housing once the tub is full. Always install the filter cartridge and housing before you start filling.
- Forgetting to treat the water immediately. Untreated fresh water is not “clean” water — it’s simply untested water, and warm, still water can start growing bacteria within hours. Don’t wait until tomorrow to add your first dose of sanitizer.
- Setting the temperature too high on day one. There’s no need to jump straight to 104°F. Many owners find 100-102°F comfortable for regular use, and a slightly lower setting reduces both energy use and how hard your sanitizer has to work in hot water.
- Ignoring the first error code. A sudden E-code shortly after filling is usually a simple airlock in the plumbing, not a defective unit. Working through the manufacturer’s reset sequence resolves the vast majority of first-fill errors without a call to customer support.
- Placing it too close to a fence, wall, or shrub line. Beyond making entry and exit awkward, a lack of clearance restricts airflow to the pump and can trap moisture against fencing or siding.
Part 4: The Final Steps – Cover, Wait, and Enjoy!
Cover and Wait
Place your newly inflated and insulated cover on the spa and secure the safety clips. This is absolutely essential for trapping heat. Now comes the hardest part: waiting.
An inflatable hot tub heater warms the water at a rate of about 2-3°F per hour. This means if your tap water is 60°F, it will take roughly 20-24 hours to reach 104°F. Be patient! Trying to use it too early will be a chilly disappointment.
Your First Soak!
Congratulations! You’ve successfully and safely set up your inflatable hot tub. You’ve prepared the site, assembled the unit, and balanced the water like a pro. The only thing left to do is slide in, press the bubble button, and enjoy the incredible reward for your efforts.
Now that your spa is up and running, your journey continues with simple, routine care. Our guide on how to clean your inflatable hot tub is the perfect next read to keep your water sparkling for months to come. And if you’re helping a friend choose their first tub, send them to our guide on the best inflatable hot tubs of 2025!
Part 5: Safety Guidelines Every Owner Should Know
A well-set-up spa is also a safe one. Before your first soak, take a few minutes to run through these safety basics with everyone in the household who will use it.
- Children require constant, active supervision. Hot water raises core body temperature much faster in small children than in adults, and a spa’s soft, deep walls can make it harder for a young child to climb out unassisted. Never leave children in or near an uncovered spa unattended, and consider a locking cover clip system as an added layer of protection.
- Pregnant individuals should consult a doctor first. Elevated water temperatures are generally discouraged during pregnancy, particularly in the first trimester. If a doctor gives the go-ahead, keep sessions short and the temperature on the lower end of the range.
- Certain health conditions warrant caution. People with heart conditions, low or high blood pressure, diabetes, or who are pregnant should talk to a physician before regular hot tub use, since hot water affects circulation and blood pressure.
- Alcohol and hot water don’t mix well. Alcohol accelerates dehydration and impairs your body’s ability to regulate temperature, which combined with hot water increases the risk of dizziness, fainting, or overheating. Save the drinks for after you towel off.
- Limit session length and temperature. Most health guidance suggests keeping soaks to 15-20 minutes at the higher end of the temperature range, longer if you keep the temperature more moderate. Step out if you feel lightheaded, overheated, or nauseous.
- Respect the electrical setup. Never operate the spa with a damaged cord, a non-GFCI outlet, or wet hands on the control panel. Unplug before performing any maintenance on the pump unit.
- Keep glass away from the water. A broken glass in or near an inflatable liner is a genuine puncture risk as well as an injury risk. Stick to plastic or metal drinkware poolside.
Part 6: Seasonal Care – Winterizing, Storage, and Cold-Weather Setup
An inflatable spa can be a year-round retreat or a seasonal one, depending on your climate and preference. Either way, how you handle the off-season matters just as much as how you handled Day One.
Running It Through Winter
Many owners keep their spa running year-round, and inflatable models are perfectly capable of this as long as a few precautions are taken. Wind is the enemy of a winter setup far more than cold air alone, so a windbreak, fence panel, or gazebo enclosure can meaningfully cut heat loss. Keep the cover locked down at all times between soaks, and consider the rigid foam insulation mentioned in Step 1 if you haven’t already added it. Expect your electricity costs to run noticeably higher in winter months, since the heater will cycle far more often to fight ambient heat loss.
Draining and Storing for the Off-Season
If you’d rather not run your spa through the coldest months, proper winterization prevents costly damage. Start by draining the tub completely using the built-in drain valve or a submersible pump, then run the pump briefly in “bubble” mode with the water off to help clear any remaining water from the internal plumbing lines — trapped water left in the lines can freeze and crack fittings. Wipe down the liner and cover with a mild, non-detergent cleaner and let everything dry completely before folding, since packing away a damp liner invites mold and mildew. Store the folded spa, pump, and accessories indoors in a climate-controlled space if possible; a garage that regularly freezes is far better than leaving it outdoors, but a basement or closet is better still. Replace or thoroughly clean the filter cartridge before storage so you’re not tempted to reuse a season-old, clogged filter come spring.
Never Let It Freeze While Full
A spa left full of water and unplugged during a hard freeze is at serious risk of cracked plumbing and a ruined pump. If you lose power unexpectedly during freezing weather and can’t restore heat quickly, draining the tub is safer than hoping it thaws without damage.
Part 7: Accessories and Upgrades Worth Considering
Once your core setup is dialed in, a handful of inexpensive accessories can noticeably improve day-to-day comfort and cut down on maintenance headaches.
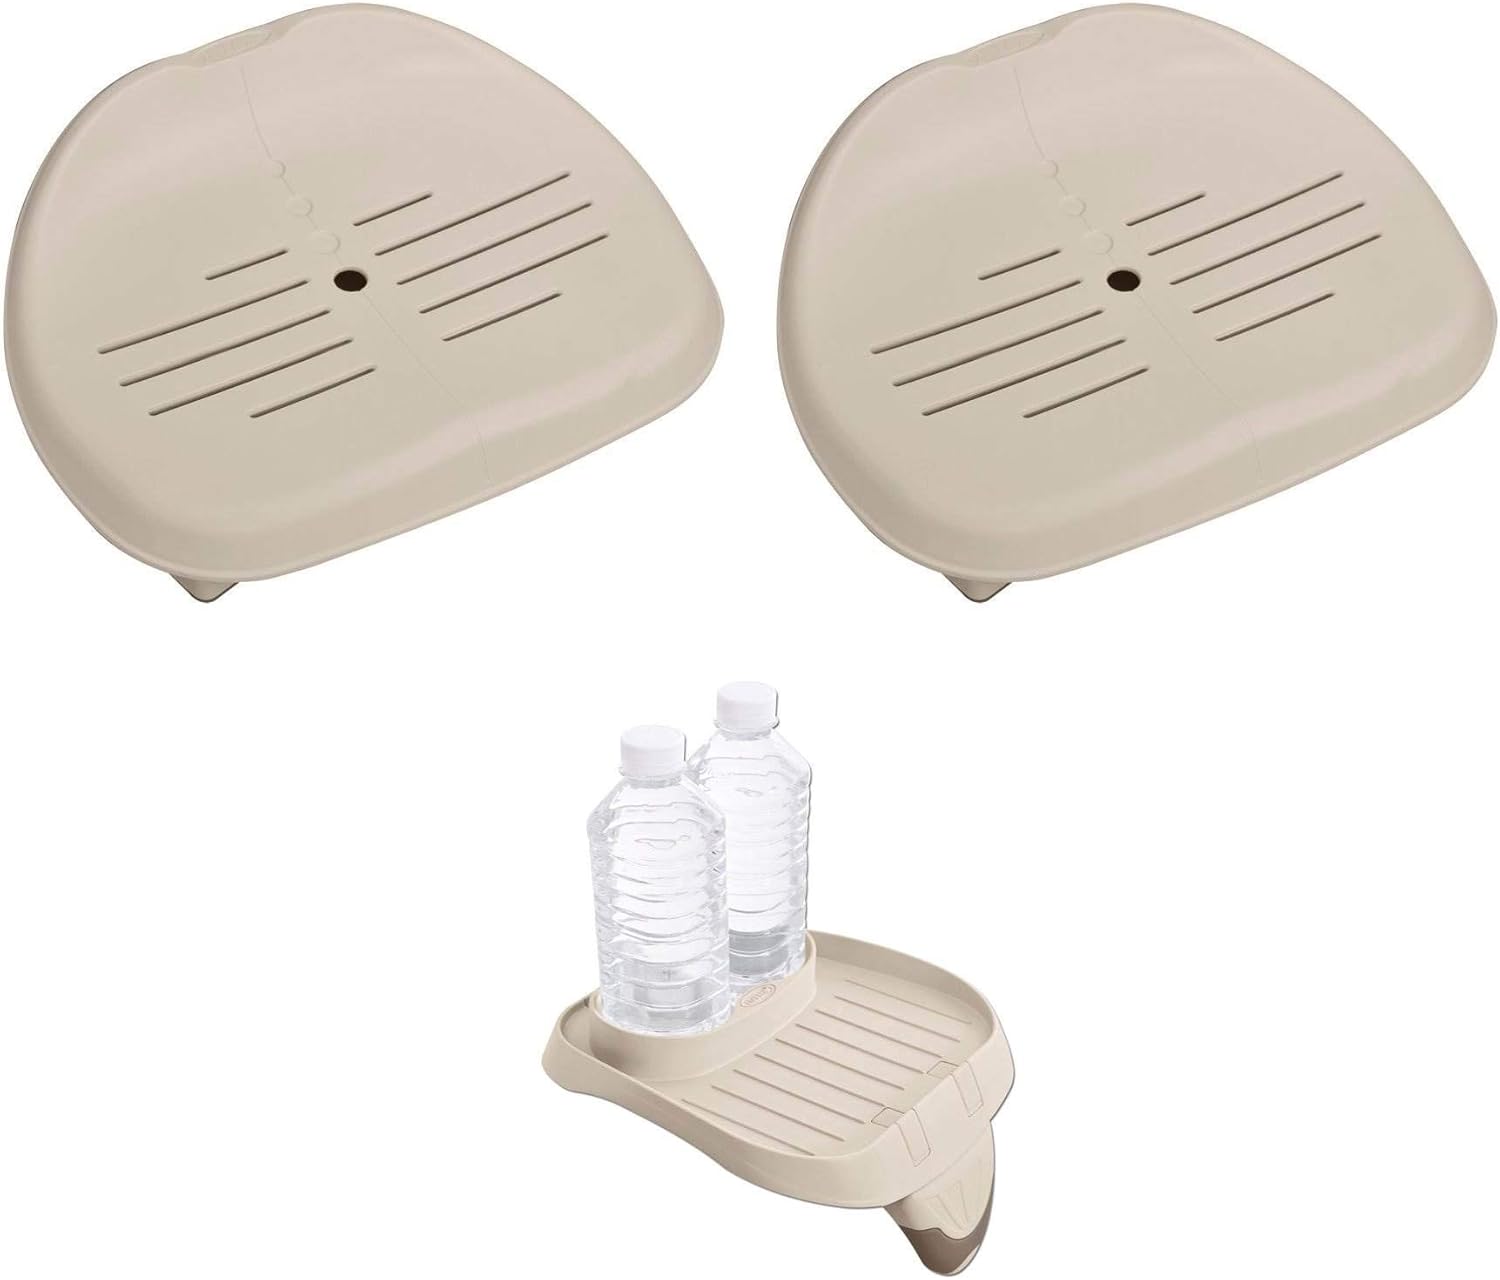
Inflatable Headrest
Cushions the neck against the vinyl wall for longer, more comfortable soaks.
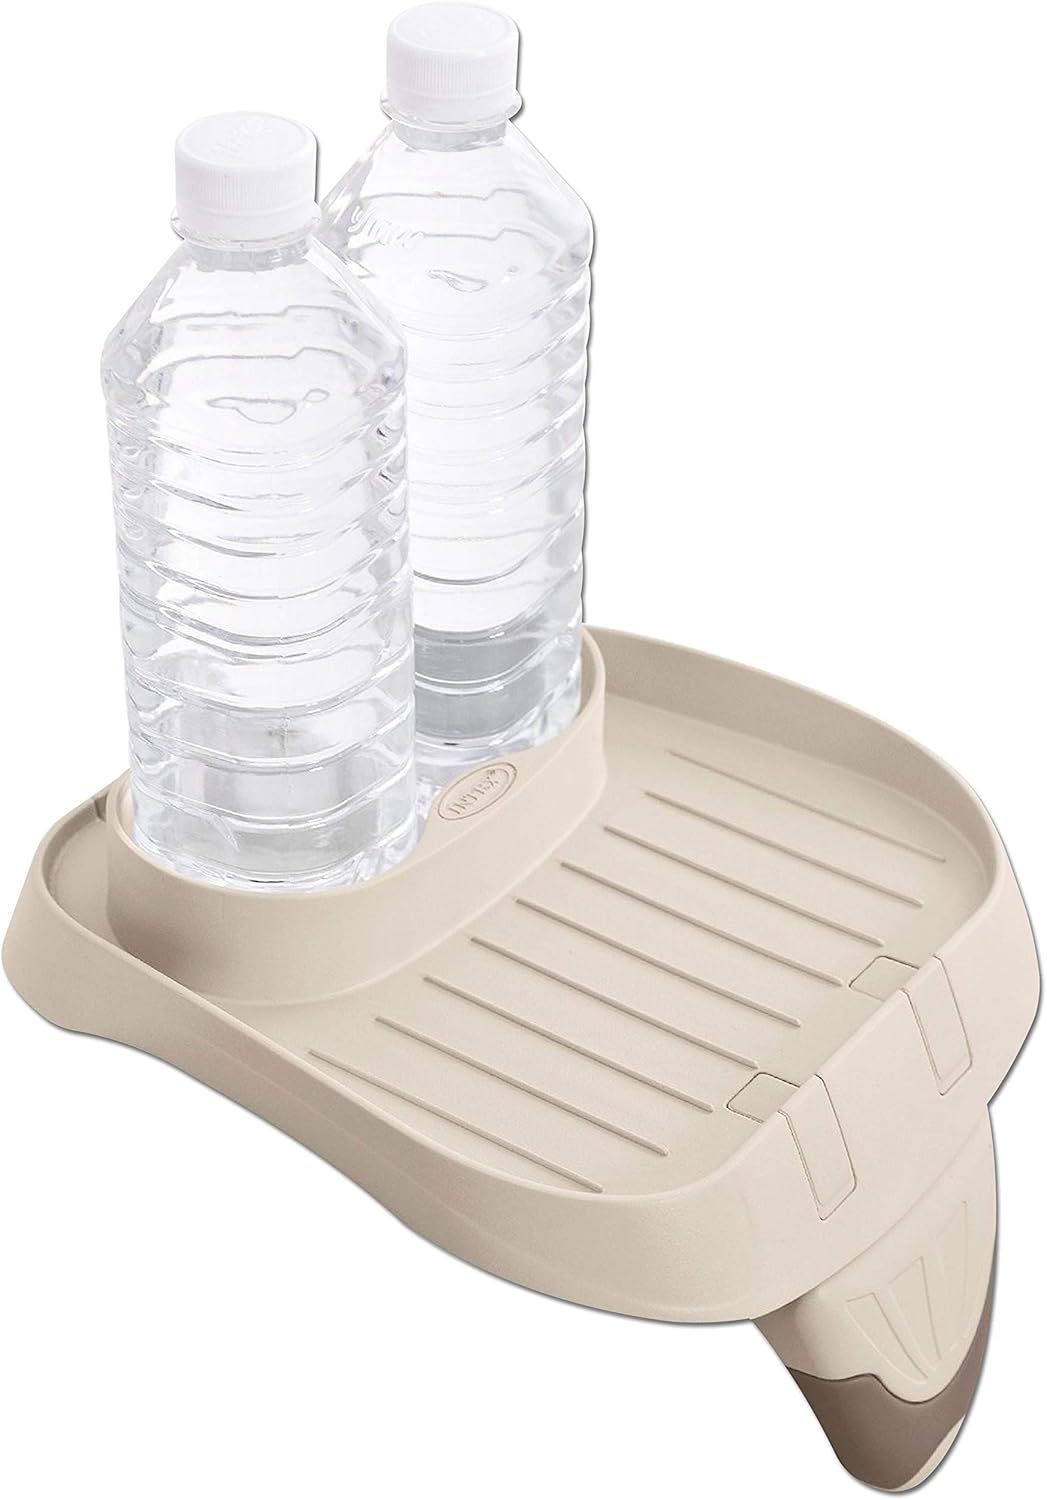
Floating Drink Tray
Keeps beverages and snacks within reach without setting them on the cover.
Thermal Ground & Side Insulation
Rigid foam panels or a fitted insulating wrap that meaningfully cut heat loss and running costs.
Floating Thermometer
A quick visual double-check on water temperature independent of the control panel display.
Automatic Chemical Floater
Doses sanitizer gradually so levels stay steadier between manual tests.
Canopy or Gazebo
Shields the spa from sun, rain, and wind, extending cover life and improving energy efficiency.
Quick-Reference Maintenance Schedule
Once your spa is up and running, ongoing care is far simpler than the initial setup. Here’s the rhythm most owners settle into:
| Frequency | Task |
|---|---|
| Before each use | Quick visual check of water clarity and cover condition. |
| 2-3 times per week | Test sanitizer, pH, and alkalinity with a test strip; adjust as needed. |
| Weekly | Rinse or swap the filter cartridge; wipe the waterline to prevent scum buildup. |
| Every 1-2 weeks | Add a shock treatment, especially after heavy use or a party. |
| Every 4-8 weeks | Fully drain, clean, and refill the tub with fresh water. |
| Seasonally | Deep-clean the liner and cover; inspect for wear, and winterize if taking a break. |
Part 8: Inflatable vs. Hard-Shell Hot Tubs — Did You Make the Right Choice?
If you’re reading this after your inflatable spa has already arrived, this section is mostly reassurance. If you’re still weighing your options before you buy, it’s worth understanding exactly what you traded off by going inflatable instead of a permanent acrylic or rotomolded hard-shell spa.
| Factor | Inflatable Spa | Hard-Shell Spa |
|---|---|---|
| Upfront cost | $300 – $1,000 | $3,000 – $15,000+ |
| Setup | DIY, a few hours, no permits | Professional delivery, electrical work, often permits |
| Portability | Deflate and store or move seasonally | Effectively permanent once installed |
| Insulation / running cost | Thinner walls, higher relative heat loss | Full-foam insulation, more efficient |
| Jets & features | Basic bubble/air jets | Multiple hydrotherapy jet types, lighting, speakers |
| Typical lifespan | 3-7 years with good care | 10-20+ years |
None of this makes an inflatable spa a lesser choice — it makes it a different one, optimized for accessibility, low upfront cost, and flexibility rather than permanence and maximum hydrotherapy power. For renters, first-time spa owners, or anyone who wants to try the hot tub lifestyle before committing to a five-figure installation, an inflatable model remains one of the best entry points available. Many owners use an inflatable spa for years, decide they love it, and then use that experience to make a far more informed decision if they eventually upgrade to a hard-shell model.
Part 9: How Long Will It Last, and How Loud Is It?
Two questions we hear constantly from new owners, usually a few weeks into ownership once the novelty of setup day has worn off: how long will this actually last, and is that hum going to bother the neighbors?
Realistic Lifespan Expectations
With consistent care — proper leveling, balanced water chemistry, a well-maintained cover, and sensible winterization — most inflatable hot tubs remain fully functional for somewhere between 3 and 7 years. The vinyl or PVC laminate construction is genuinely durable and resistant to punctures during normal use, but it is not indestructible; UV exposure, chronically unbalanced water chemistry, and being left full and unused for long stretches all accelerate wear. The pump and heater unit is usually the first component to need attention, and many manufacturers sell replacement pump units separately, which can meaningfully extend the useful life of the tub itself even if the original pump eventually fails.
Noise Levels
An inflatable spa’s pump produces a steady, moderate hum, roughly comparable to a window air conditioner or a pool filter pump, generally in the 45-55 decibel range at a few feet away. It’s rarely loud enough to be a problem indoors with windows closed, but it’s worth considering if your unit will sit directly beneath a bedroom window or close to a shared property line in an apartment or townhome setting. Placing the pump side away from windows, and away from a neighbor’s fence line where practical, minimizes any friction over noise.
Part 9B: Does Your Water Source Matter?
Not all tap water is created equal, and where your fill water comes from can quietly shape how much work your first few weeks of water chemistry take. Municipal water is usually pre-treated and reasonably predictable, but it can still carry more chlorine, chloramine, or dissolved minerals than ideal, especially in older municipal systems. Well water is the trickier of the two: it frequently runs harder (higher in dissolved calcium and magnesium) and can carry more iron, manganese, or sulfur than city water, any of which can cause cloudiness, staining, or a rotten-egg smell if left untreated.
This is exactly why we recommend a hose-end pre-filter for every first fill, regardless of your water source. A basic inline filter strips out much of the sediment, chlorine, and heavy metal content before it ever reaches your spa, giving your sanitizer and balancers a cleaner starting point to work from. If you’re on well water and notice persistent cloudiness, brownish staining around the waterline, or scale buildup on the heater element even after balancing pH and alkalinity correctly, a dedicated water softener or metal sequestrant product designed for spas can solve the problem far more reliably than adding more sanitizer.
Pro-Tip: Test Your Fill Water Before You Fill
If you know your home has notably hard or mineral-heavy water, test a glass of tap water with a basic test strip before you even connect the hose. Knowing your starting alkalinity and hardness in advance lets you buy the right balancing products ahead of time instead of making an emergency supply-store run mid-fill.
Part 9C: Troubleshooting Beyond the First-Fill Error Code
Step 6 above covers the most common first-fill airlock error, but a few other issues tend to show up in the weeks and months that follow. Here’s a quick-reference for the ones we hear about most.
| Symptom | Likely Cause | What to Try |
|---|---|---|
| Water won’t heat past a certain point | Cover not sealing, cold ambient temperature, or an aging heater element | Check cover fit and clip tension; verify the thermostat setting; consider added insulation |
| Cloudy or hazy water | Unbalanced pH/alkalinity, a clogged filter, or high bather load without enough sanitizer | Retest and rebalance chemistry; rinse or replace the filter cartridge; shock the water |
| Pump runs but no bubbles | Air valve not fully open, or a kinked air line | Check the air control dial and inspect the short black air hose for kinks |
| Spa won’t power on at all | Tripped GFCI, tripped breaker, or a shared overloaded circuit | Reset the GFCI plug and breaker; move other high-draw devices off the same circuit |
| Persistent musty or moldy smell | Damp storage, an old filter, or buildup in the cover’s underside | Replace the filter; wipe down and fully dry the cover; increase sanitizer briefly |
| Slow leak / gradual deflation | A loose fitting, a small puncture, or a valve not fully seated | Check all fitting seals first; use a soapy-water test to find pinhole leaks; most kits include a repair patch |
Most of these issues are simple, inexpensive fixes rather than signs of a defective unit. Keeping a small log of when you last balanced chemistry, changed the filter, and drained the tub makes it much faster to diagnose a new symptom, since you can quickly rule out “the filter is overdue” or “it’s been six weeks since the last full drain” as the culprit.
Part 10: The Wellness Case for Regular Soaking
Beyond the simple pleasure of warm water, regular hot tub use is associated with a few well-documented wellness benefits worth mentioning, alongside a few sensible caveats. Warm water immersion can promote muscle relaxation and may ease minor everyday aches, which is part of why so many owners describe their evening soak as a wind-down ritual rather than just a novelty. Heat exposure can also support a sense of relaxation before bed for some people, though it’s worth timing your soak to end at least an hour or two before sleep, since the subsequent drop in body temperature as you cool down is part of what supports sleep onset.
These are general wellness observations, not medical claims, and they don’t replace guidance from your own physician — particularly if you have a cardiovascular condition, are pregnant, or are managing any chronic health issue, all of which we covered in the safety section above. Used sensibly, in properly balanced water, at a reasonable temperature and session length, a hot tub is one of the more genuinely relaxing additions you can make to a backyard or patio.
Part 10B: Setting Up in Different Climates
The core setup steps stay the same no matter where you live, but a few adjustments make a real difference depending on your local climate.
Hot, Dry Climates
In desert and arid regions, direct sun exposure is the bigger challenge, not heat retention. UV rays break down chlorine quickly and can accelerate wear on the vinyl liner and cover over time. Consider a stabilized chlorine product, test water more frequently in peak summer, and if possible, position the spa where it gets some afternoon shade from a pergola, umbrella, or canopy. Evaporation also runs higher in dry climates, so keep an eye on the water level and top it off as needed to keep the pump properly submerged.
Humid, Coastal Climates
Higher ambient humidity slows evaporation but can encourage mold and mildew on the underside of the cover and around the base if the spa sits somewhere with poor airflow. Wipe down and air out the cover regularly, and avoid placing the tub directly against a wall or dense hedge that blocks air circulation. Salt air near the coast can also be more corrosive to any exposed metal fittings, so a quick rinse of the pump housing after storms is a good habit.
Cold Climates
This is where the insulation advice from Step 1 really earns its keep. Rigid foam under the ground cloth, a windbreak around the perimeter, and a snugly fitted cover aren’t optional extras in a genuinely cold climate — they’re the difference between a spa that’s affordable to run all winter and one that’s fighting a losing battle against heat loss every single day. If overnight lows regularly dip well below freezing and you’re not confident in your setup’s ability to keep the plumbing from freezing during a power outage, having a manual drain plan ready is a smart backup.
Part 10C: Inspecting Your Delivery Before You Even Start
One easy step that gets skipped in the excitement of a new delivery: inspecting everything before you start assembly. Shipping damage is uncommon but not impossible for a box this large and heavy, and catching it before you’ve inflated and filled the spa makes returns and warranty claims far simpler.
- Photograph the box on arrival, especially if there’s any visible crushing, tearing, or water staining on the packaging.
- Lay out every component before you start connecting anything, and check it against the included parts list — liner, cover, pump unit, filter cartridges, hoses, and any accessories.
- Inspect the liner for factory seam issues while it’s still flat and empty, since small manufacturing flaws are far easier to spot before inflation than after.
- Keep the original packaging until you’ve completed a full fill-and-heat cycle successfully, in case you need to arrange a manufacturer return.
Taking ten extra minutes here rarely turns anything up, but on the occasions it does, it saves you from discovering a defect after you’ve already spent an afternoon filling and heating the tub.
Part 11: A Quick Glossary for First-Time Owners
Spa product listings and manuals throw around a lot of terminology that isn’t always explained. Here’s a plain-language reference for the terms you’ll run into most often while setting up and maintaining your tub.
- Alkalinity (Total Alkalinity): A measure of the water’s ability to resist sudden pH swings. Kept in the 80-120 ppm range, it acts as a buffer so your pH doesn’t bounce around every time you add a chemical.
- pH: A measure of how acidic or basic your water is, ideally 7.4-7.6 for a spa. Water outside this range can irritate skin, corrode components, and make your sanitizer far less effective.
- ppm (Parts Per Million): The standard unit test strips use to report chemical concentration — for example, “3 ppm chlorine” means three parts chlorine per million parts water.
- Shock: A concentrated, one-time dose of oxidizer used to burn off built-up contaminants and combined chlorine/bromine, distinct from your everyday maintenance dose of sanitizer.
- Combined Chlorine / Chloramines: Spent chlorine that has already reacted with contaminants like sweat, oils, and sunscreen. This, not fresh chlorine, is the source of that sharp “pool smell.”
- GFCI (Ground Fault Circuit Interrupter): A safety outlet or breaker that instantly cuts power if it detects a current leak, a mandatory safeguard for any electrical appliance used near water.
- Bather Load: The number of people using the spa in a given session, which directly affects how quickly sanitizer gets used up and how often you’ll need to test and rebalance.
- Water Hardness: A measure of dissolved calcium and magnesium in your fill water. Very hard water can cause scale buildup on the heater; very soft water can be corrosive to metal components.
Frequently Asked Questions
How long does it take to set up an inflatable hot tub for the first time?
Budget a full afternoon for your very first setup: about 30-45 minutes for site prep and unboxing, 15-20 minutes for inflation, an hour or more for filling depending on water pressure, and a few minutes to balance the initial water chemistry. The spa itself won’t be ready to use until it finishes heating, which takes an additional 20-24 hours or more.
Can I set up an inflatable hot tub on grass or dirt?
It’s not recommended as a permanent solution. Grass and dirt are rarely perfectly level, can shift or settle unevenly once weighted down with hundreds of gallons of water, and tend to hide sharp roots or debris. A hard, level surface like a patio, deck (with verified weight capacity), or paver base is always the safer choice.
Do I need an electrician to install an inflatable hot tub?
Most models are designed to plug into a standard 15 or 20-amp GFCI-protected household outlet, so an electrician usually isn’t required. You may want to hire one if your desired location doesn’t have a nearby GFCI outlet, or if you’re setting up a larger 6-8 person model that draws more power than your existing circuit can safely handle.
How much does it cost per month to run an inflatable hot tub?
Most owners spend somewhere between $20 and $50 a month on electricity for a standard 4-person model used a few times a week, plus another $20-$40 on water care chemicals. Colder climates, larger tubs, and uninsulated setups can push electricity costs noticeably higher, while a well-insulated, consistently covered spa in a mild climate can cost closer to $10-$20 a month.
Should I use chlorine, bromine, or a saltwater system?
Chlorine is the most affordable and widely available option and is a sensible default for first-time owners. Bromine offers steadier sanitizer levels with less frequent dosing and tends to feel gentler on skin, at a somewhat higher monthly cost. Saltwater systems produce their own chlorine automatically and offer the softest water feel, but come with a higher upfront cost for the generator cell and require careful attention to salt levels.
Can I leave my inflatable hot tub running all the time?
Yes, and for most owners it’s actually the more energy-efficient choice compared to fully powering down between uses, since reheating a completely cooled tub from scratch often costs more than maintaining a steady temperature. Just be sure the cover stays on whenever the spa isn’t in use to minimize heat loss while it’s idle.
How do I winterize my inflatable hot tub if I won’t use it in cold weather?
Drain the tub fully using the drain valve, briefly run the pump in bubble mode with no water to help clear residual water from the internal lines, clean and thoroughly dry the liner and cover, and store everything indoors in a space that doesn’t freeze. Clean or replace the filter cartridge before packing it away so you’re starting fresh next season.
Is it safe for children to use an inflatable hot tub?
Children can use an inflatable spa under constant, active adult supervision, ideally with shorter session times and a lower water temperature than adults might prefer, since kids heat up faster than adults in warm water. Never leave a spa uncovered and unattended if children have access to the area.
Why does my inflatable hot tub smell strongly of chlorine?
Counterintuitively, a strong chemical smell usually signals that your sanitizer level is too low, not too high. The smell comes from chloramines or bromamines — spent sanitizer that has already reacted with contaminants in the water and needs to be refreshed with a fresh dose and a shock treatment, followed by better circulation.
How often should I completely drain and refill the water?
Most manufacturers and experienced owners recommend a full drain and refill every 4-8 weeks for a spa used a few times per week, though heavier use, more bathers, or difficulty keeping chemistry balanced can shorten that interval. A fresh fill is also the right time to inspect and clean the filter housing.
How long do inflatable hot tubs typically last?
With consistent care, most inflatable models last somewhere between 3 and 7 years before the liner, pump, or heater need major attention. Proper leveling, balanced water chemistry, a well-fitted cover, and sensible off-season storage are the biggest factors in reaching the long end of that range, while UV exposure and neglected water chemistry are the biggest factors in falling short of it.
Is well water safe to use for filling an inflatable hot tub?
Yes, but it often requires a bit more attention than municipal water, since well water tends to run harder and can carry more dissolved iron or manganese. Using a hose-end pre-filter and testing your fill water’s hardness and alkalinity before your first fill will help you catch and address any issues early rather than fighting persistent cloudiness later.