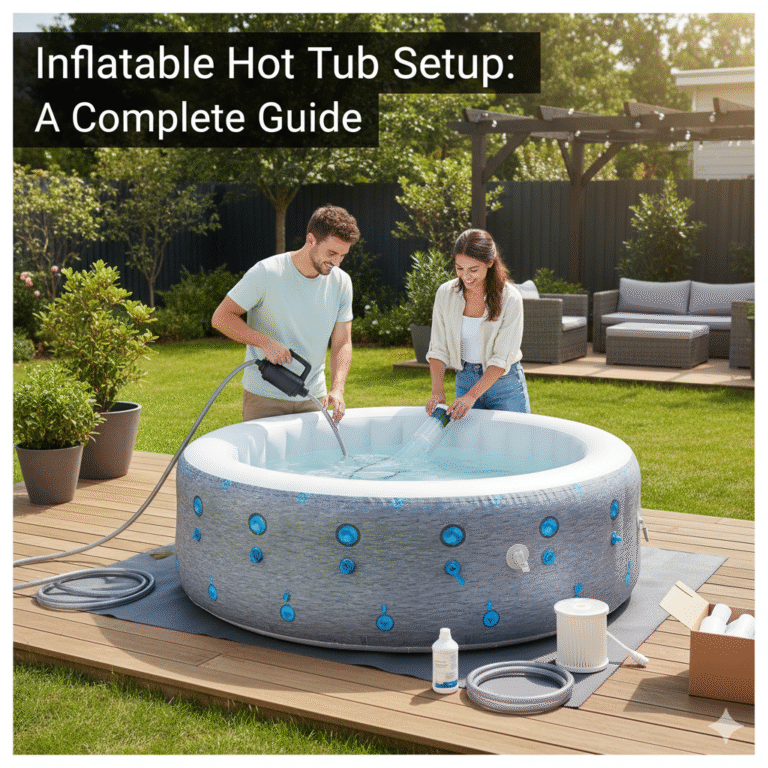
The Ultimate Inflatable Hot Tub Setup Guide: From Box to Bliss in 10 Steps
The moment has arrived. That big, heavy box on your doorstep holds the promise of countless hours of relaxation, starlit soaks, and bubbling bliss. But between you and that first perfect dip is the setup process. For a first-timer, it can seem intimidating. Will it be level? Do I need special tools? What do I do with chemicals?
Relax. You’ve come to the right place. As a team that has set up dozens of inflatable hot tubs—from the compact Bestway SaluSpa Miami to giant 8-person models—we’ve seen it all. We’ve made the rookie mistakes, discovered the pro shortcuts, and distilled everything into this single, definitive guide. Think of us as your personal setup expert, here to ensure your journey from a sealed box to a sparkling spa is smooth, successful, and frustration-free.
The 10-Step Setup Checklist
Here’s the entire process at a glance. We’ll dive deep into each step below.
- Choose & Prepare Your Location: Find a level, stable spot with proper clearance and power.
- Unbox & Inspect: Carefully open the box and lay out all the parts.
- Connect the Pump Unit: Hand-tighten the three main connections.
- Inflate the Spa Liner: Use the pump’s massage function to self-inflate the tub.
- Inflate the Cover: Use the same method to inflate the insulated cover’s air bladder.
- Install Filter Housing: Screw the filter cartridge and housing into the liner.
- Fill with Water: Use a garden hose (ideally with a filter) to fill to the MAX line.
- Power On & Activate Heater: Secure the connections, plug in the GFCI, and set your desired temperature.
- Balance Water Chemistry: Add your initial doses of chemicals to the fresh water.
- Cover & Wait: Put the insulated cover on and let the spa heat up (this takes 24-48 hours).
Part 1: Before You Unbox – The Crucial Planning Stage
Success is all in the preparation. Spending 30 minutes on planning now will save you hours of headaches later. This is the most important part of the entire process.
Choose Your Location
Where you place your tub is the most critical decision you’ll make. It must meet these four criteria:
- It MUST Be Level: This is non-negotiable. An unlevel surface puts uneven stress on the spa’s seams and can cause it to fail. Use a long carpenter’s level to check your spot. A slope of more than 1 inch over 8 feet is too much.
- It MUST Be a Smooth, Solid Surface: Clear away all sharp rocks, sticks, and other debris. Ideal surfaces include a concrete patio, smooth pavers, or a reinforced deck.
- It MUST Have Clearance: You need at least 2-3 feet of clear space around the entire tub for the pump unit, for safe entry and exit, and for maintenance access.
- It MUST Have Power: Your spa needs to be within reach of a GFCI-protected outdoor electrical outlet. Most spa cords are around 10-15 feet long.
CRITICAL DECK WARNING: Know Your Weight Limits!
A filled 4-person inflatable hot tub can weigh over 2,000 pounds (900 kg) with people inside. A larger 6-person model can exceed 3,000 pounds. This is like parking a small car on your deck. Many residential decks are NOT built to handle this concentrated load. **Before placing a hot tub on a deck, you must consult a qualified contractor or structural engineer to verify its load capacity.**
Pro-Tip: Insulate Your Foundation to Save Money
Placing your tub directly on cold ground is a major source of heat loss. For a huge boost in energy efficiency, lay down 1-inch thick rigid foam insulation boards (from any home improvement store) under your ground cloth. This creates a thermal break from the cold ground and can significantly reduce your monthly heating costs. This is an absolute must if you plan to attempt cold-weather soaking, a topic we cover in our guide to the best inflatable hot tub for winter.
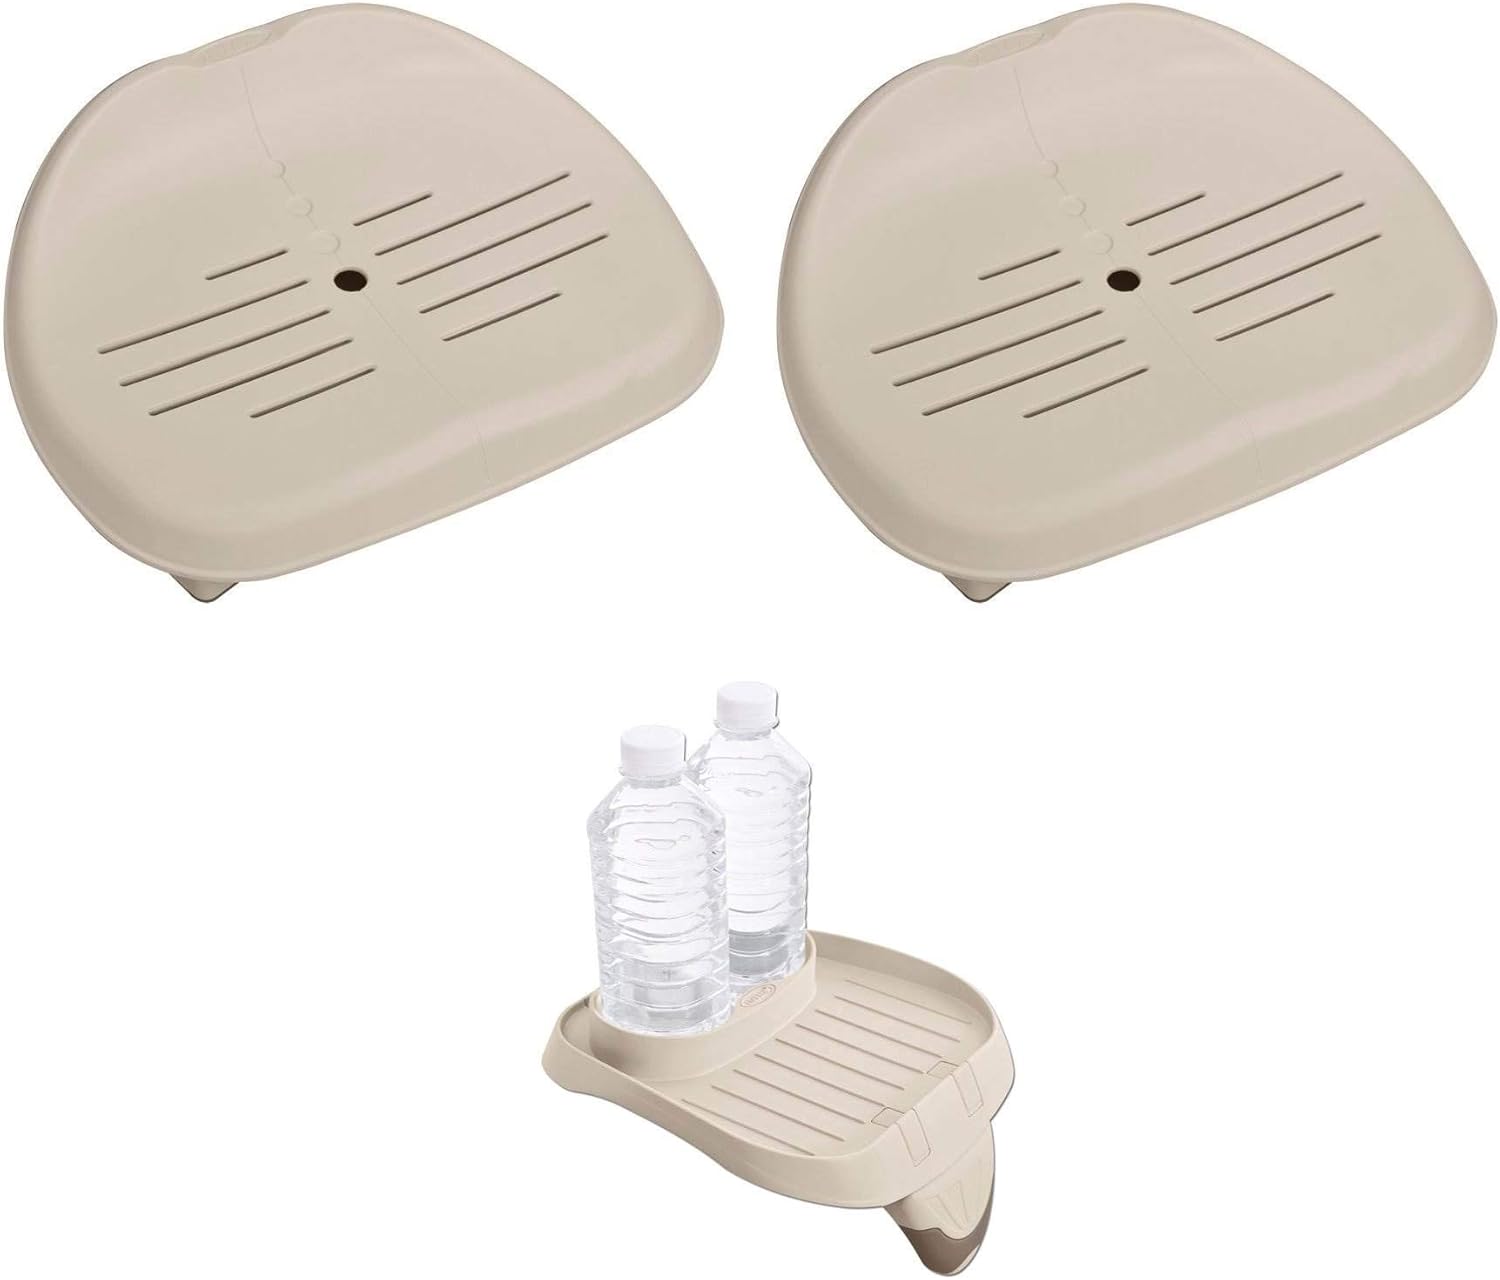
Gather Your Toolkit
Your spa comes with almost everything you need, but having these items on hand will make “Setup Day” a breeze.
Box Cutter
To carefully open the box.
Garden Hose
To fill the tub.
Hose-End Filter
Highly recommended to remove metals and minerals from your tap water.
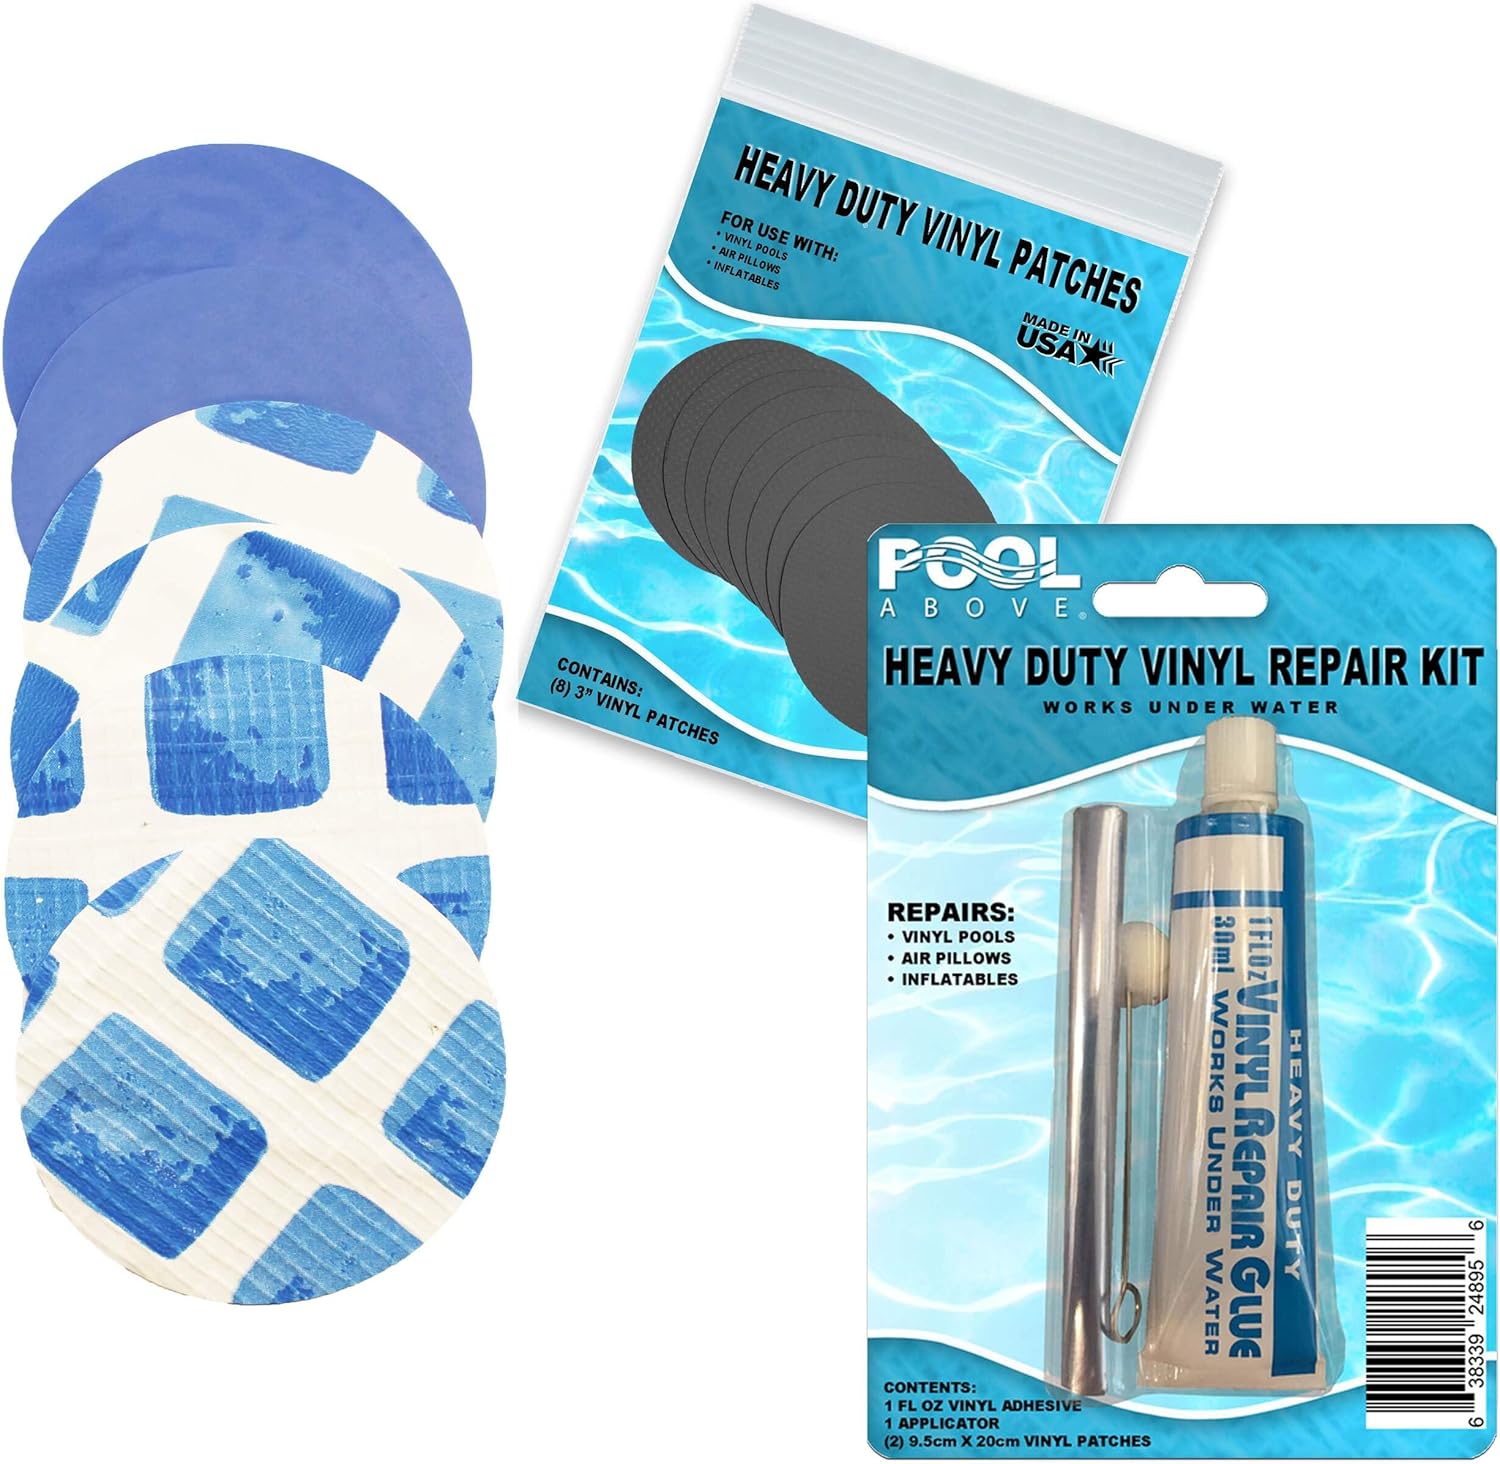
Chemical Starter Kit
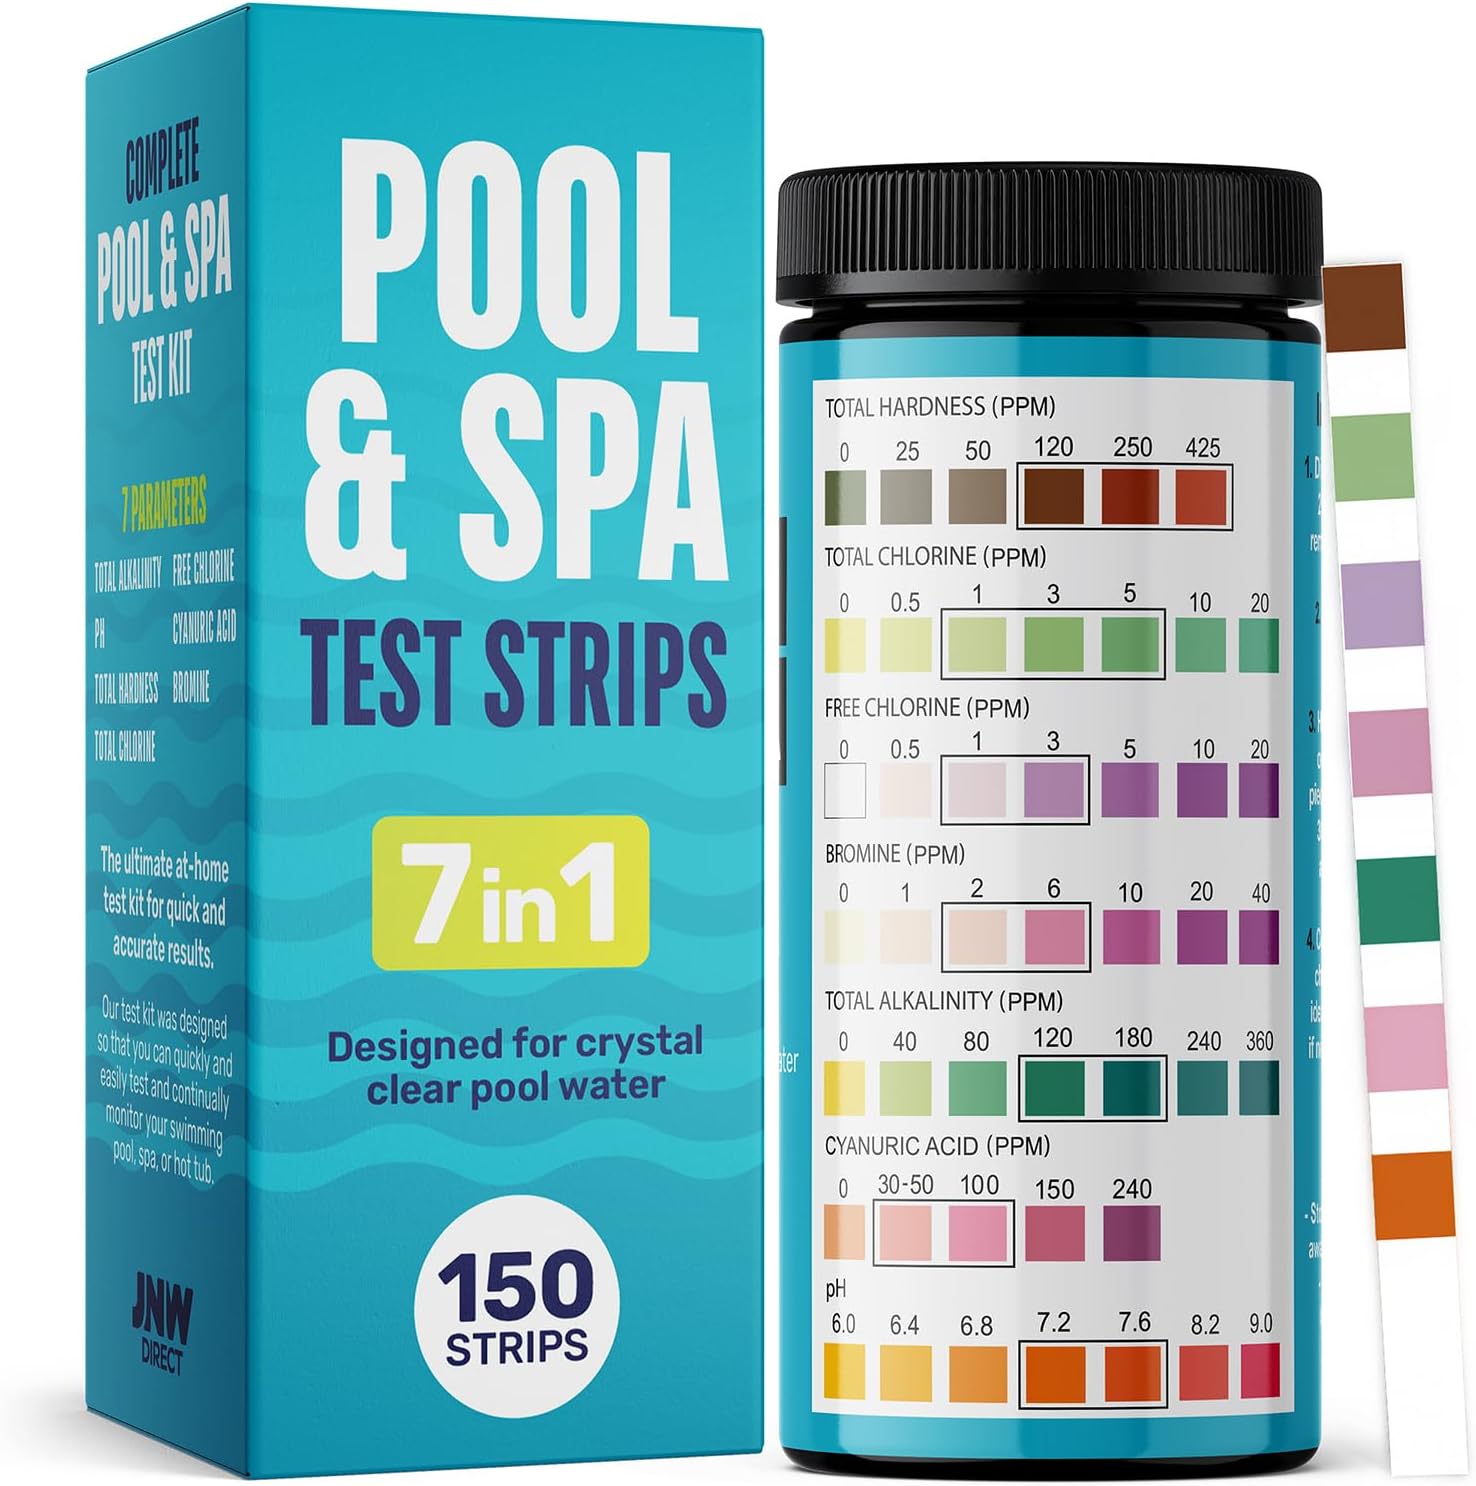
You MUST treat the water immediately. Have sanitizer, balancers, and test strips ready.
Part 2: The Main Event – Step-by-Step Assembly
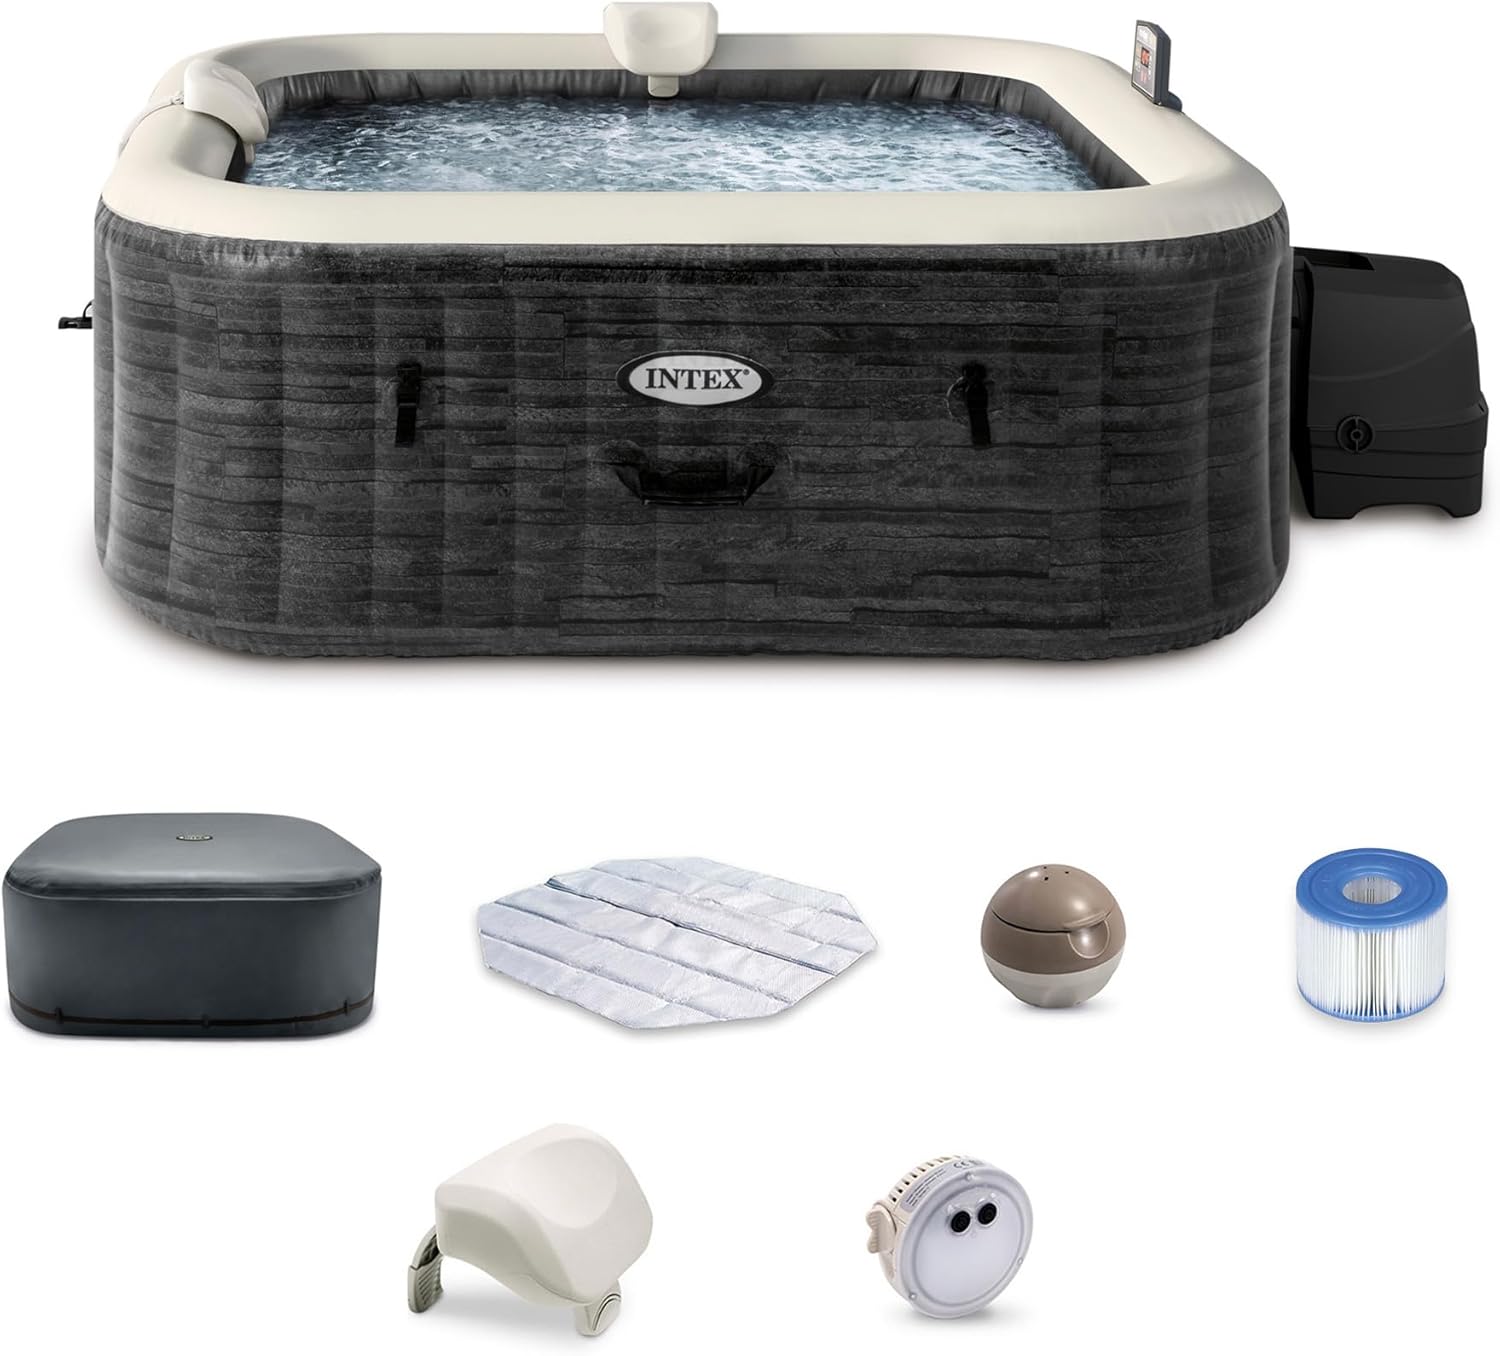
With your site prepared, it’s time for the exciting part. The hands-on process for most models, like the best-selling Coleman SaluSpa or its main rival from Intex (see our Intex vs. Coleman comparison), is remarkably similar and tool-free.
Unbox, Unroll & Connect
Carefully cut open the box and lay out the ground cloth on your prepared spot. Unroll the spa liner on top of it. If it’s a cool day, let the vinyl sit in the sun for 30 minutes to become more pliable.
Next, connect the pump unit. You’ll see three ports on the liner and three corresponding connections on the pump (often labeled A, B, C). Simply screw them on. Hand-tighten only! Using tools can crack the plastic fittings.

Inflate the Spa & Cover
This is where the magic happens. Find the short, black inflation hose. Attach one end to the pump’s “T” connector (where the bubble jets come out) and the other end to the air valve on the side of the liner. Press the “Massage/Bubble” button on the control panel. The pump will come to life and inflate the entire spa in about 10-15 minutes.
Inflate until the walls are firm to the touch but still have a little give when you press hard. Do not overinflate. Once the main tub is done, use the same process to inflate the small air bladder for the insulated cover.
Install Filters & Fill with Water
Go inside the tub and locate the two water ports. Screw the filter cartridge onto the lower port’s housing and then screw the entire housing into place. Attach the top screen to the upper port.
Now, grab your garden hose and start filling! We strongly recommend a hose-end filter to remove impurities from your tap water. Fill the water until it’s between the MIN and MAX lines printed on the liner. This can take 45-90 minutes depending on your water pressure.
Power On and Start Heating
Double-check that all connections are hand-tight. Plug the large GFCI plug into your outdoor outlet. Press the reset button, then press the power button on the control panel. You should see the current water temperature display. Press the heat button (flame icon) and use the arrows to set your target temperature (104°F is the maximum). You’ll hear the pump hum to life and begin heating and filtering.
Troubleshooting an Immediate Error?
If your pump immediately shows an error code (like the common E90 on an Intex), don’t worry. This is often caused by an airlock from the initial fill. Our comprehensive Intex PureSpa Troubleshooting guide has simple, step-by-step fixes for this and other common issues.
Part 3: After You Fill – The Critical First-Time Water Treatment
Your tub is full, but it’s not ready for soaking. You are now looking at a large tub of untreated water, which is a perfect breeding ground for bacteria. Treating the water correctly from the start is the key to a healthy spa.
Balance Your Fresh Water
Fresh tap water is rarely perfectly balanced for a hot tub. Balancing it now will make your sanitizer far more effective.
- Test the Water: Dip a test strip into your new water and see the starting levels.
- Adjust Alkalinity FIRST: Your Total Alkalinity should be between 80-120 ppm. Add an “Alkalinity Up” product if needed. Circulate the water for 20 minutes.
- Adjust pH SECOND: Your pH should be between 7.4-7.6. Add “pH Up” or “pH Down” as needed. Circulate again.
This balancing act is the core of your weekly tasks. For a deep dive into the why and how, check out our master guide to Inflatable Hot Tub Maintenance.
Sanitize & Shock
With the water balanced, it’s time to make it safe.
- Add Sanitizer: Add your initial dose of chlorine granules (typically 1-2 tablespoons, check the package) to establish a baseline sanitizer level of 1-3 ppm.
- Shock the Water: “Shocking” is a super-dose of oxidizer that eliminates any contaminants from your source water. Add a dose of non-chlorine or dichlor shock. This is a critical step for starting with perfectly clean water.
Part 4: The Final Steps – Cover, Wait, and Enjoy!
Cover and Wait
Place your newly inflated and insulated cover on the spa and secure the safety clips. This is absolutely essential for trapping heat. Now comes the hardest part: waiting.
An inflatable hot tub heater warms the water at a rate of about 2-3°F per hour. This means if your tap water is 60°F, it will take roughly 20-24 hours to reach 104°F. Be patient! Trying to use it too early will be a chilly disappointment.
Your First Soak!
Congratulations! You’ve successfully and safely set up your inflatable hot tub. You’ve prepared the site, assembled the unit, and balanced the water like a pro. The only thing left to do is slide in, press the bubble button, and enjoy the incredible reward for your efforts.
Now that your spa is up and running, your journey continues with simple, routine care. Our guide on how to clean your inflatable hot tub is the perfect next read to keep your water sparkling for months to come. And if you’re helping a friend choose their first tub, send them to our guide on the best inflatable hot tubs of 2025!