How to Find a Leak in an Inflatable Hot Tub: The “Spray & Pray” Method
You filled it up last night. The water was hot, the bubbles were perfect. But this morning, your inflatable oasis looks sad, saggy, and suspiciously soft. You have a leak.
Before you panic and drag the whole thing to the curb, take a breath. Finding a leak in an inflatable hot tub is actually quite simple. You don’t need professional tools, and you rarely need a professional plumber. All you need is a spray bottle, some dish soap, and a little patience.
Leaks typically occur in three places: the air valve, the seams, or the pump connections. In this guide, we will walk you through the diagnostic process used by pros to pinpoint the pinhole and get you back to bubbling.
Why Leaks Happen: The 4 Root Causes
Before you go hunting, it helps to understand why inflatable spas develop leaks in the first place. In our experience testing and reviewing dozens of models, nearly every leak traces back to one of four underlying causes.
1. Age and Material Fatigue
Like any flexible plastic product, vinyl becomes less pliable over time. Just as your own joints feel stiffer with age, the walls of an inflatable spa gradually lose elasticity after repeated inflation and deflation cycles, especially once a unit passes the two-to-three-year mark. This makes older tubs measurably more prone to small cracks at stress points, particularly around seams and the base of the air valve.
2. UV and Sun Exposure
Prolonged direct sunlight breaks down the plasticizers in PVC and vinyl, a process called UV degradation. Over months of exposure, this makes the material more brittle and less able to flex without micro-cracking. If your tub sits in full sun for most of the day, expect a shorter usable lifespan than a unit kept in partial shade or under a patio cover.
3. Overinflation and Excess Weight Stress
Every inflatable spa has a recommended maximum air pressure and a maximum occupant count for a reason. Overinflating the walls, or routinely exceeding the rated number of occupants, puts additional mechanical stress on seams, which are almost always the first point of failure under excess pressure. Placing the tub on an uneven surface compounds this problem, since uneven ground concentrates weight unevenly across the floor and seams instead of distributing it evenly.
4. Frequency of Use and Setup/Teardown Cycles
Every time you fully deflate, fold, store, and later re-inflate a spa, you introduce a small amount of additional wear at the fold lines. Owners who set up and tear down frequently (for example, seasonal users who pack the tub away each week) will typically see more fold-related cracking over time than owners who leave the tub inflated and simply cover it between uses.
The Usual Suspects: Where to Look First
Not all leaks are created equal. Use this matrix to save time by checking the most likely culprits based on your hot tub’s behavior.
| Symptom | Most Likely Culprit | Difficulty to Fix |
|---|---|---|
| Tub wall is soft/sagging | Air Valve (Loose or broken) | Easy (Tighten w/ wrench) |
| Puddle of water on ground | Pump Seals / O-Rings | Medium (Replace seal) |
| Slow deflation over days | Pinhole in Vinyl | Medium (Patch required) |
| Deflates immediately | Large Seam Split | Hard (Heavy duty patch) |
The Gold Standard: The Soapy Water Method
This is the most reliable way to find a leak invisible to the naked eye. It works on the same principle as finding a leak in a tire.
What You Need:
- A spray bottle
- Dish soap (Dawn works best)
- Water
- A grease pencil or masking tape (to mark the spot)
The Process:
- Inflate the Tub: Fill the tub walls with air until they are firm. Do not fill it with water yet.
- Mix the Solution: Fill your spray bottle with water and add a generous squirt of dish soap. Shake it gently.
- Spray Systematically: Start spraying the tub. Don’t just spray randomly—start at the air valve, then move to the seams (where two pieces of vinyl meet).
- Watch for Bubbles: You are looking for growing bubbles. The soap will foam naturally, but a leak will actively blow air outward, creating large, expanding bubbles that hiss.
Alternative Detection Methods (When Soapy Water Isn’t Enough)
Soapy water works for the vast majority of leaks, but a few situations call for a different approach.
The Hissing Sound Method
For larger leaks, you often don’t need soap at all. Fully inflate the tub, then go quiet, unplug the pump, turn off any nearby fans or music, and slowly run your hand a few inches above the surface of the walls and seams. Larger punctures and split seams often produce an audible hiss that you can pinpoint by ear before ever reaching for the spray bottle. This is frequently the fastest method for a “deflates within minutes” scenario, since a leak that dramatic is rarely subtle.
The Food Coloring Method (For Water-Side Leaks)
If water is disappearing but you can’t find an obvious puncture in the air chamber, the leak may be on the water side rather than the air side, for instance a crack near the filter housing or pump inlet. Fill the tub with water, then carefully drop food coloring near suspected problem areas (filter connections, seams near the base) and watch closely. If the color gets drawn toward a specific spot or visibly disappears into the liner, you’ve found your water-side leak point.
The Wet-Spot Method for Internal Leaks
Some leaks occur between the inner water-holding liner and the outer air-chamber wall, rather than leaking outward to the ground. These are trickier because you won’t see a puddle outside the tub. Instead, look for the tub visibly sagging or losing air pressure without any external water loss, run your hand along the inside seams while drained, and feel for damp or soft spots between the layers, which indicate water has migrated into a space it shouldn’t be.

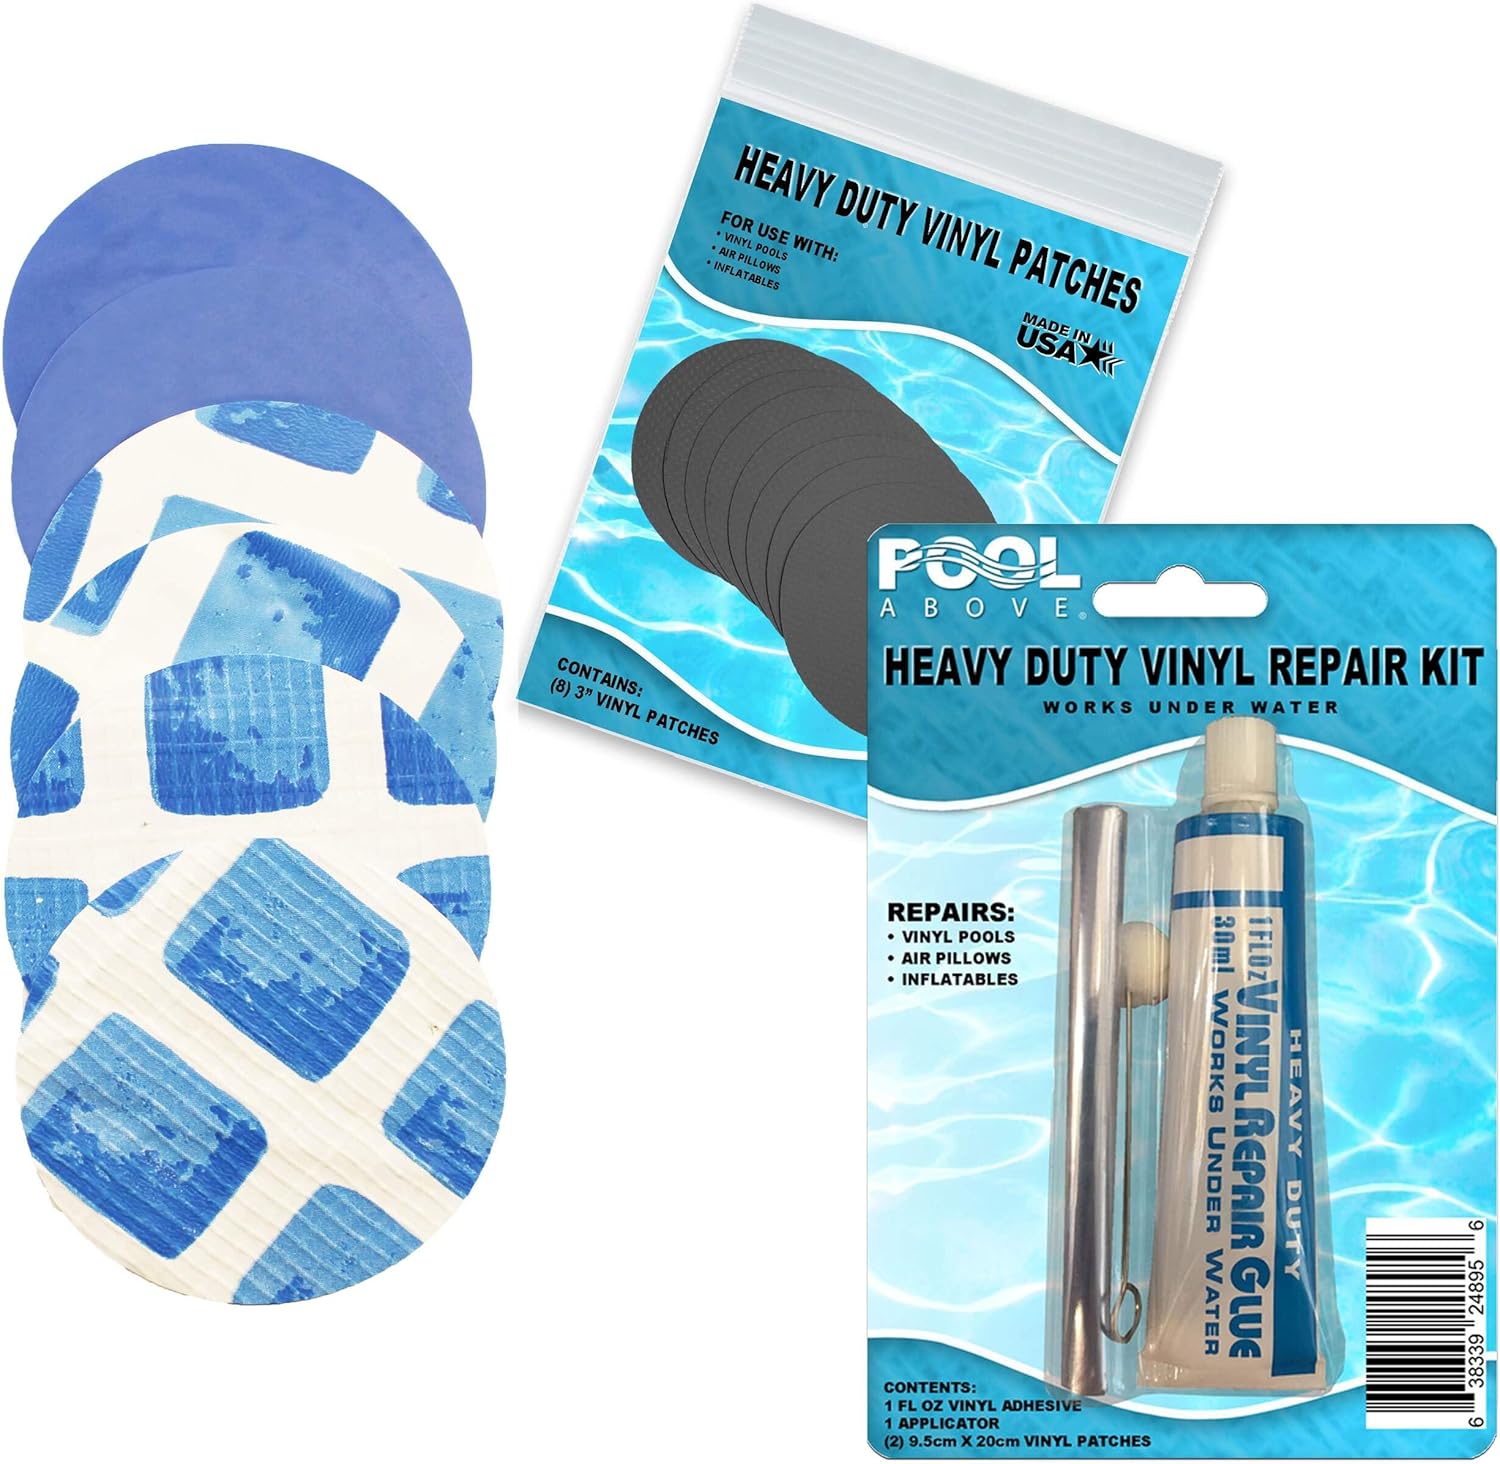
Don’t mess with messy glues. This waterproof tape works instantly, even underwater, and creates a permanent bond on vinyl.
Check Price on AmazonCheck the Air Valve (It’s Loose!)
Surprisingly, 50% of “leaks” aren’t holes at all. They are loose valves. Inflatable spas usually come with a plastic wrench specifically for the air valve.
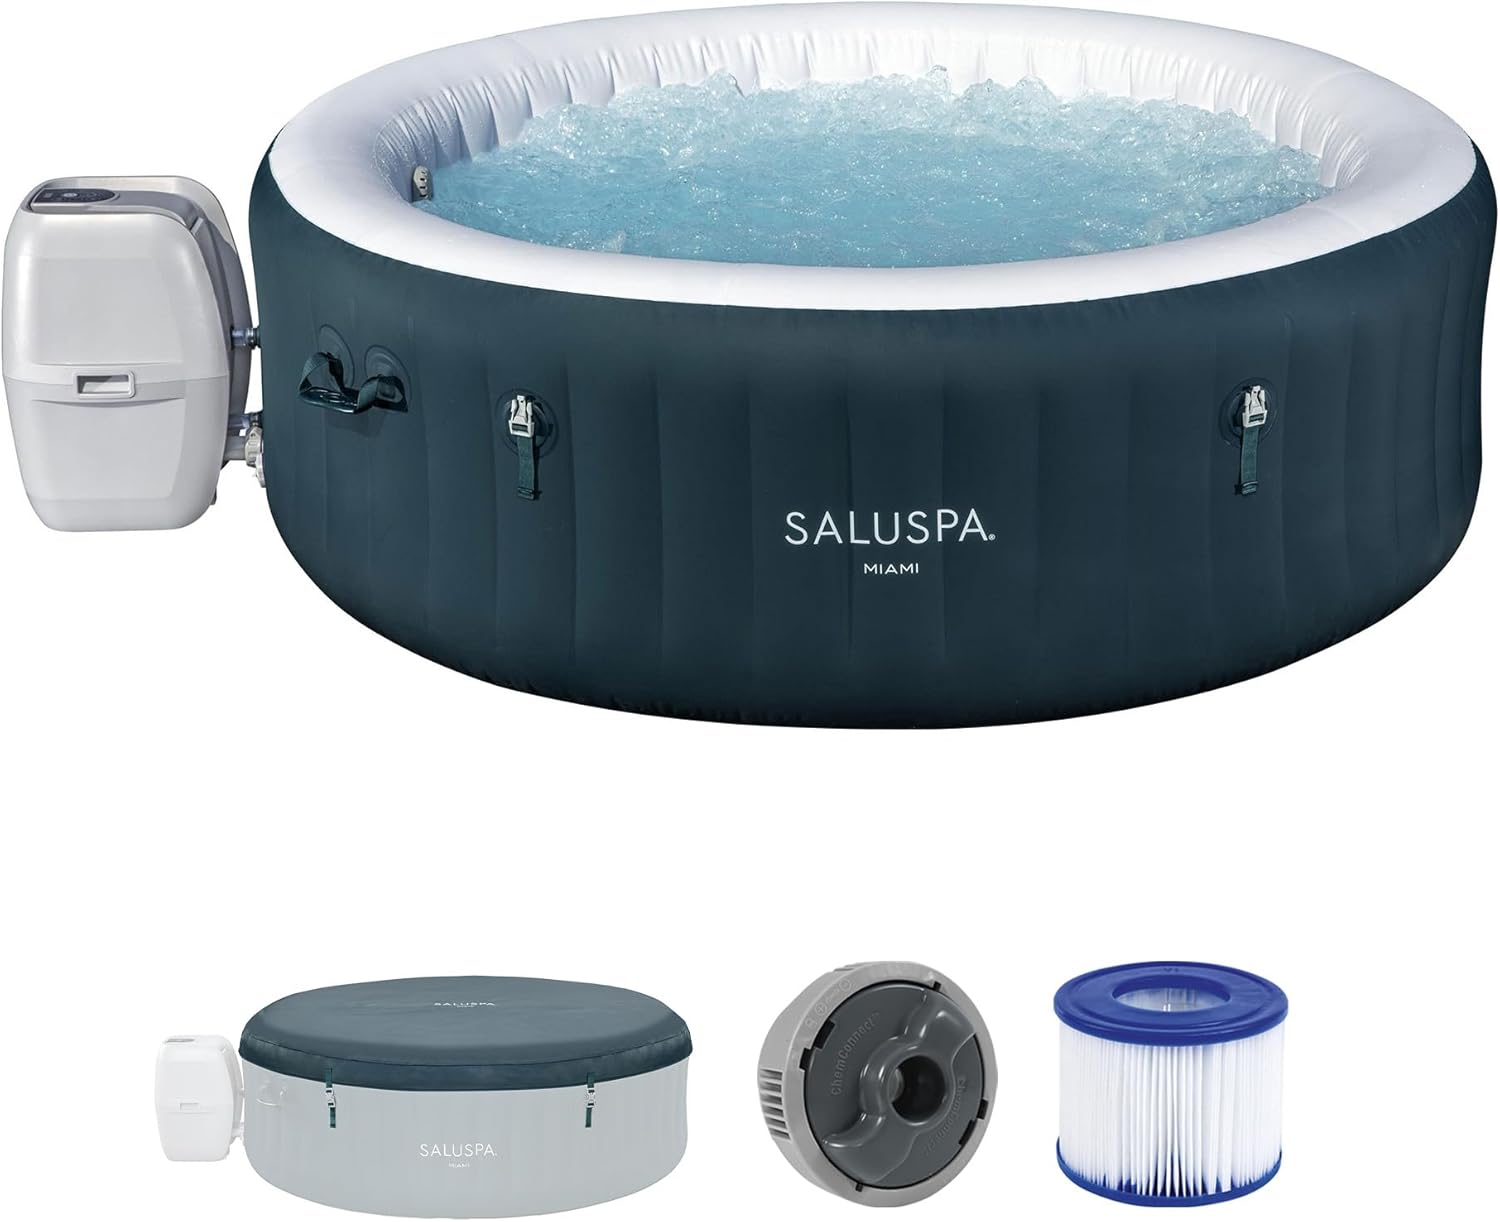
If you own a **Coleman SaluSpa**, this is a known quirk. The valves can loosen over time due to temperature changes and vibration. For a detailed look at this model’s durability, read our Coleman SaluSpa review.
The Fix: Remove the cap, insert the wrench into the valve base, and give it a firm clockwise turn. Spray it with soapy water to confirm the air has stopped escaping.
Internal Bladder & Liner Leaks: When Water Gets Into the Walls
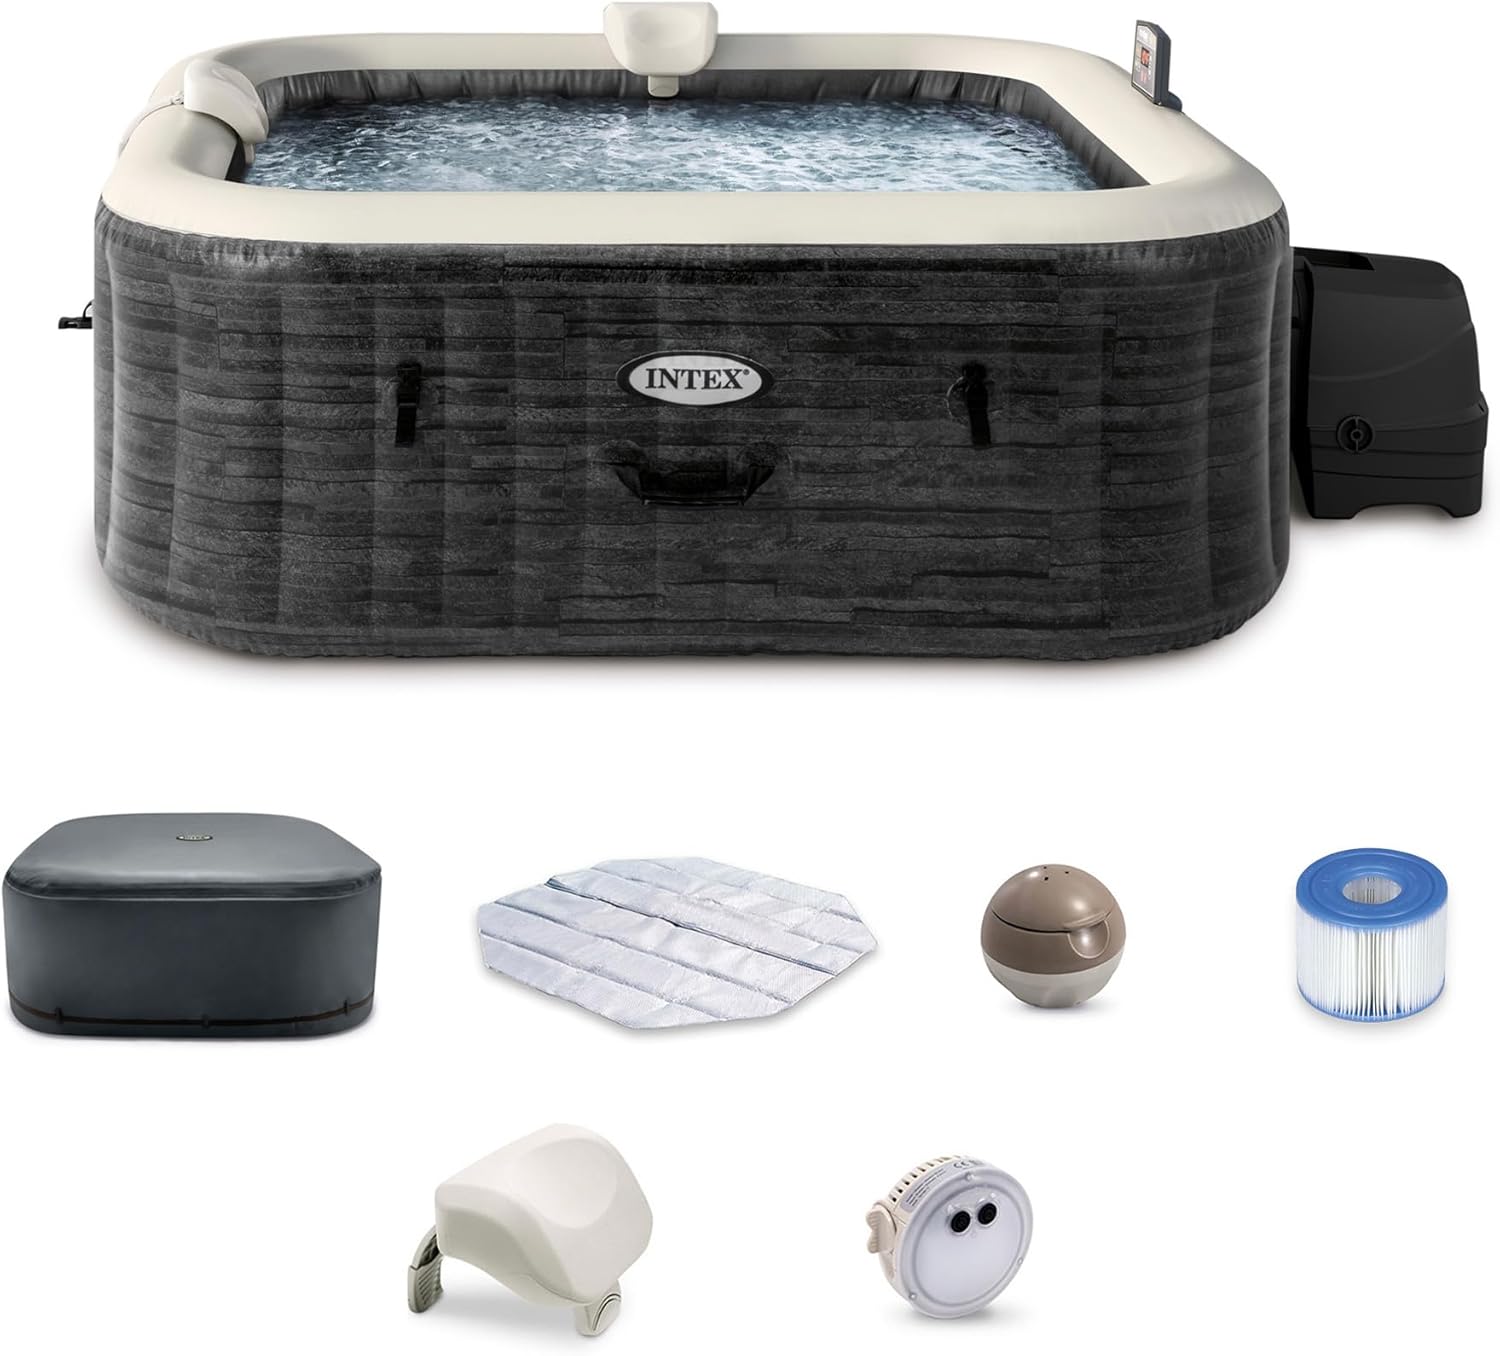
This is one of the more frustrating leak types because it isn’t visible from the outside at all. Many inflatable spas, particularly Intex models, use a double-wall construction where an inner water-holding liner sits inside an outer air-filled bladder for insulation. If the inner liner develops a crack, water seeps into the air chamber between the two layers instead of leaking out onto your patio.
Recognizing the Symptoms
The telltale signs are a spa that feels unusually heavy or sloshes strangely when you press on the outer wall, a soft or spongy section of wall that wasn’t soft before, and, on Intex models specifically, a recurring E90 error code that keeps appearing even after you’ve cleared the filter and confirmed normal water flow. If you’re seeing frequent E90 codes alongside a wall that feels different to the touch, an internal bladder leak is a strong possibility, and it’s worth reviewing our broader Intex PureSpa troubleshooting guide for the full range of E90 causes beyond just pump flow restriction.
Diagnosing an Internal Leak
Drain the spa completely and inspect the interior wall by pressing gently at different points, feeling for moisture or a spongy texture between the layers rather than a firm, uniform wall. Unlike an external puncture, you generally cannot patch an internal bladder leak from the outside, since the damage sits between two bonded layers you can’t access without cutting into the tub.
What to Do Next
Unfortunately, internal bladder leaks are one of the few leak types where a DIY patch kit typically won’t help. If your unit is still within its warranty period (usually 90 days to 1 year on the liner, depending on brand), this is a strong candidate for a manufacturer warranty claim rather than a repair attempt, since a full liner replacement is often the only lasting fix.
Water Leaking from the Pump?
If the tub is holding air but you see water pooling around the mechanical unit, the issue is likely a rubber O-ring.
Disconnect the pump from the tub (plug the holes with the stoppers provided). Check the rubber seals inside the connectors. Are they cracked? Flat? Missing? These gaskets are cheap to replace. If the leak is coming from inside the pump housing, you may have a deeper mechanical issue. See our guide on Intex PureSpa troubleshooting for internal pump diagnostics.
Filter Housing and Inlet/Outlet Connection Leaks
A surprisingly common leak point sits right where the filter cartridge connects to the tub wall, at the filter inlet and outlet fittings. If you notice water seeping specifically from this area rather than the seams or valve, the fix is usually much simpler than a patch.
Step-by-Step Fix
- With the spa still filled, use the plastic key or wrench tool provided with your unit to hand-tighten both the filter inlet and filter outlet fittings. Make sure they are snug but not over-torqued, since plastic threads can strip if forced.
- Check the inflation connector cap as well; it is a separate fitting from the filter housing and can loosen independently.
- If tightening doesn’t resolve it, drain the spa and unzip the inner and outer liner (on models where this is possible) to access the heater unit directly.
- Locate the jubilee clip (a small screw-tightened hose clamp) connecting the internal plumbing, and use a flat-head screwdriver to ensure it is fully tightened.
- Refill the spa and monitor the connection closely for the first hour of operation before considering the repair complete.
If the leak persists after tightening every connection point, the O-ring or washer inside that specific fitting has likely perished and needs replacing, a cheap part usually available directly from the manufacturer’s spare parts page.
Model-Specific Troubleshooting Notes
While the general diagnostic process applies across brands, a few models have quirks worth knowing about in advance.
Coleman SaluSpa
As mentioned above, valve loosening is a known issue on this line, largely due to the DuraPlus material’s slightly different flex characteristics compared to standard vinyl. Manufacturer warranty claims for liner defects are processed through Coleman’s official warranty portal, and having your proof of purchase and model number ready speeds up the process considerably.
Intex PureSpa
Intex’s double-wall construction makes internal bladder leaks (covered above) more common on this brand than most others. The E90 error code is your primary early warning sign; don’t ignore repeated occurrences even if the spa seems to be holding water fine in the short term.
Bestway SaluSpa
Bestway’s welded seams are generally durable, but owner reports suggest that once a weld does begin to fail, patch kits applied directly over the weld often don’t hold long-term, since the stress that caused the original failure remains. In these cases, a full liner replacement through warranty is usually the more permanent solution.
Wave Spas
Wave Spas explicitly recommends checking the jubilee clip inside the unit as a first step for water leaks, along with hand-tightening the filter inlet, outlet, and inflation connector cap, exactly as outlined in our filter housing section above. Their integrated-heater models carry a 1-year liner warranty, while other models carry 6 months, so check your specific product page before assuming coverage.
Lay-Z-Spa
Lay-Z-Spa specifically flags split seams as a cause of water migrating into the air chamber, essentially the same internal bladder leak phenomenon described earlier in this guide. They note that condensation inside the air chamber is a separate, normal phenomenon not covered under warranty, so it’s worth distinguishing genuine seam failure from simple condensation before filing a claim.
How to Patch the Leak
Once you have marked the leak with your grease pencil, it’s time to seal it.
- Clean and Dry: The patch will not stick to wet, soapy, or greasy vinyl. Clean the area with rubbing alcohol and let it dry completely.
- Deflate Slightly: Take some pressure off the walls so the air doesn’t push the patch off before it cures.
- Apply the Patch: If using a liquid PVC glue, apply it to the patch and the tub, wait 1 minute for it to get tacky, then press firmly. If using a patch tape, smooth it out from the center to avoid air bubbles.
- Wait: Let the adhesive cure for at least 12 hours before re-inflating fully.
Regular inflatable hot tub maintenance, like keeping the vinyl clean and using a ground cloth, is the best way to prevent these punctures from happening in the first place.
DIY Repair vs. Warranty Claim vs. Professional Help
Not every leak deserves the same response. Use this simple decision framework to avoid wasting time on a repair that won’t hold, or paying for a professional when a $10 patch kit would have done the job.
DIY Repair Is Right When:
- The leak is a small, isolated pinhole in an open section of vinyl wall, not on a welded seam.
- The unit is out of warranty or the damage is clearly accidental (a pet scratch, a dropped tool) rather than a manufacturing defect.
- You’ve located the leak precisely using the soapy water or hissing sound method and it’s accessible without disassembling the pump or heater unit.
File a Warranty Claim When:
- The unit is less than a year old (or within the manufacturer’s specific liner warranty window) and the leak appears at a factory seam or weld rather than from an obvious external cause.
- You suspect an internal bladder leak, since these are rarely patchable and usually require a full liner replacement anyway.
- You’re seeing a recurring error code (like E90) that points to an internal fault rather than routine wear.
Call a Professional or Contact Support When:
- The leak is coming from inside the pump or heater housing itself, rather than the tub liner, since these units are typically sealed and not designed for owner disassembly beyond basic filter and connector maintenance.
- You’ve already attempted a patch and the leak returns under the same patch, which usually indicates ongoing stress at that location rather than a simple puncture.
- You’re not comfortable draining, disconnecting, and reconnecting the internal plumbing yourself, since incorrect reassembly can introduce new leaks at the very fittings you were trying to fix.
Repair Cost Breakdown
Understanding typical repair costs helps you decide whether patching is worth it or whether it’s time to consider a replacement part or unit.
| Repair Type | Typical Cost | DIY Friendly? |
|---|---|---|
| Basic vinyl patch kit | $8 – $20 | Yes |
| Waterproof patch tape | $10 – $25 | Yes |
| Replacement O-ring/washer set | $5 – $15 | Yes |
| Replacement pump/heater unit | $100 – $250 | Mostly, with basic tools |
| Full liner replacement (out of warranty) | $150 – $400 | Yes, but labor-intensive |
| Pump impeller replacement | $20 – $50 in parts | Moderate; requires opening pump housing |
If you’re facing a full liner replacement and the unit is more than 2 to 3 years old, it’s worth comparing that cost against simply buying a new tub, since a replacement liner can sometimes approach half the price of an entry-level new unit.
Preventing Future Leaks
Once you’ve fixed your current leak, a few ongoing habits will meaningfully reduce the odds of a repeat issue.
- Always use a ground cloth underneath the tub to prevent abrasion from the surface below, which is one of the leading causes of floor punctures.
- Never exceed the rated occupant count printed on the tub, since excess weight concentrates stress on seams that aren’t designed to handle it.
- Inflate to the manufacturer’s recommended PSI, not beyond it. Overinflated walls are measurably more prone to seam stress than properly inflated ones.
- Provide shade where possible, since reducing direct UV exposure slows the vinyl degradation process significantly over the life of the tub.
- Keep sharp objects, pet claws, and jewelry away from the tub’s walls during both use and storage.
- Inspect at every inflation cycle. Catching a pinhole early, before it’s under sustained pressure from water weight, makes for a far simpler and more permanent repair.
- Dry thoroughly before folding for storage, since trapped moisture combined with folded creases is a common source of mildew-related material weakening over a winter in storage.

The industry standard for pool and spa repair. This liquid vinyl weld fuses the patch to the tub, making it stronger than the original material.
Check Price on AmazonFrequently Asked Questions
Yes, but only if you use an “underwater” vinyl repair kit or waterproof tape (like Gorilla Tape). However, for the longest-lasting result, it is always better to drain, dry, and patch the area properly.
It might not be a leak! Inflatable hot tubs expand in the sun and contract in the cool night air. If the temperature drops significantly overnight, the tub will appear softer. This is simple physics, not necessarily a puncture.
No! Super glue becomes brittle when it dries. The vinyl walls of your spa flex and move. A super glue patch will crack and fail almost immediately. Always use a flexible PVC adhesive.
The most common leak point is actually the air valve (it often just needs tightening). After that, check the seams where the floor meets the wall, as this area takes the most stress.
A persistent E90 code after confirming normal water flow and a clean filter often points to an internal bladder leak, where water has migrated between the inner liner and outer air chamber. This typically requires a warranty claim or liner replacement rather than a simple patch.
A small amount of condensation inside the air chamber can be normal and is typically not covered under warranty. However, if you see a noticeable amount of standing water or the tub feels unusually heavy, that points to an actual seam or liner leak rather than simple condensation.
A small amount of daily softening due to temperature swings between day and night is normal. If the tub loses noticeable firmness within a few hours regardless of temperature, or needs re-inflating more than once every few days, that level of air loss points to an actual leak worth investigating.