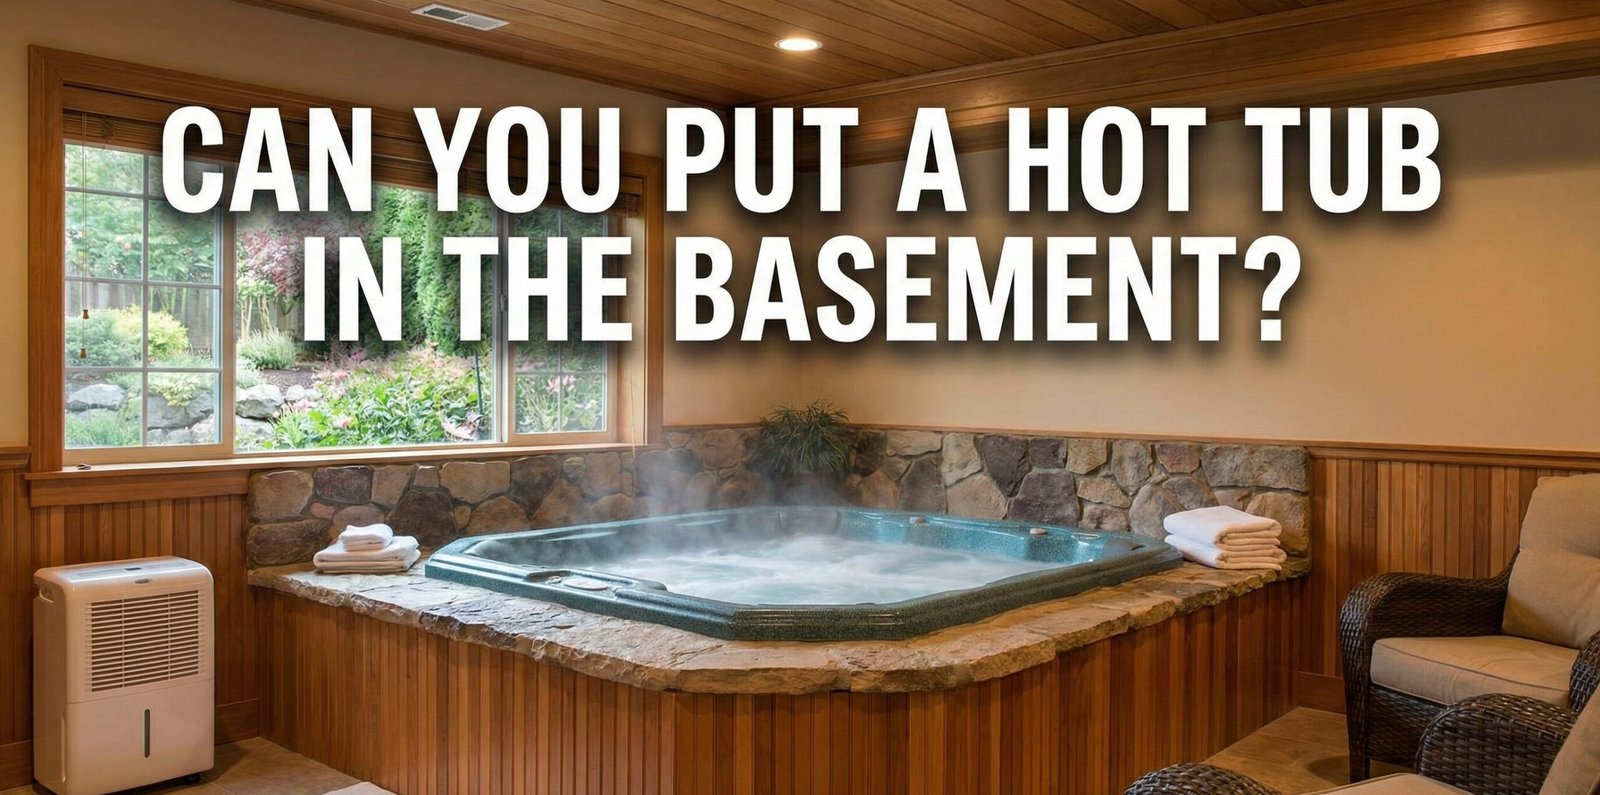
Can You Put a Hot Tub in a Basement? A Complete Guide to Indoor Spas
The idea is incredibly appealing: turning your basement into a private wellness sanctuary. No freezing walks in the winter snow, total privacy from neighbors, and easy access to your fridge. But the question “Can I put a hot tub in my basement?” is followed by a much more important one: “Should I?”
The short answer is Yes, you can put a hot tub in a basement. However, it is exponentially more difficult and expensive than installing one outdoors. You aren’t just buying a tub; you are engineering a wet room.
In this guide, we will walk you through the critical structural, electrical, and ventilation requirements to ensure your dream spa doesn’t turn your home into a moldy nightmare. We’ll also cover the parts of this project that rarely make it into a quick online search — realistic total costs, permitting and insurance implications, how to size a dehumidifier correctly, what a full installation timeline actually looks like, and how a basement compares against a garage or outdoor placement for homeowners who are still weighing their options.
The 3 Major Hurdles
Before you start shopping for models, you need to check if your home can physically handle the installation.
- Delivery Access: Traditional acrylic hot tubs are rigid. They do not bend. If you have a standard 30-inch door frame or a staircase with a 90-degree turn, getting a 7-foot square tub into the basement is physically impossible without removing a wall.
- Water Drainage: When you drain the tub (every 3-4 months), where does the water go? You need a floor drain or a sump pump system nearby.
- Electrical: Most full-sized tubs require a 220V/50A hardwired connection. You will need a sub-panel installed. Check our guide on how many amps a hot tub uses to see if your breaker box can handle the load.
Ventilation: The Enemy is Mold
This is where most indoor hot tub projects fail. A hot tub is essentially a giant humidifier. When you open the cover, gallons of water evaporate into the air instantly. If that moisture has nowhere to go, it will soak into your drywall, insulation, and joists.
The Ventilation Checklist:
- Exhaust Fan: A standard bathroom fan is not enough. You need a high-CFM exhaust fan (similar to a kitchen hood) vented directly outdoors.
- Dehumidifier: You must run a commercial-grade dehumidifier constantly to keep humidity below 50%.
- Wall Materials: Drywall is a sponge. You should use Greenboard (moisture-resistant drywall), cedar, or tile for the walls surrounding the spa.
How to Size a Dehumidifier for a Spa Room
Dehumidifiers are rated by pints of moisture removed per day, and manufacturers size that rating against a “normal” residential room at moderate humidity — not a room with an open hot tub actively evaporating gallons of water into the air. As a practical rule, most installers size the unit for a room 1.5 to 2 times larger than the actual square footage of the spa room, to account for the extra moisture load the tub itself contributes on top of normal ambient humidity. A small 30-pint consumer dehumidifier sized for a typical bedroom will be overwhelmed almost immediately in a hot tub room; the commercial-grade units used for this purpose typically start around the 100-pint range.
It’s also worth routing the dehumidifier’s collected water to a drain rather than a removable bucket. A unit working hard enough to keep up with a hot tub’s moisture output can fill a standard bucket reservoir within a day, and a forgotten, overflowing reservoir defeats the entire purpose of running the unit in the first place.

Don’t rely on a small portable unit. This industrial dehumidifier pulls 100+ pints of moisture from the air daily, protecting your home’s structure.
Check Price on AmazonFlooring & Structural Support
Good News: Most basements have concrete slab floors. Concrete is excellent at supporting the massive weight of a filled hot tub (often 4,000+ lbs). If your basement has a raised wood subfloor, you will need a structural engineer to reinforce the joists.
Bad News: Splashing is inevitable. Carpet and laminate are terrible ideas. You need waterproof flooring that provides traction when wet.
- Tile/Stone: Best for waterproofing but can be slippery.
- Rubber Flooring: Excellent grip and waterproof.
- Protection: Always place a specialized mat under the tub to protect the floor and dampen vibration noise. Check out the best hot tub pads for indoor use.
The Solution: Why Inflatables Are Better for Basements
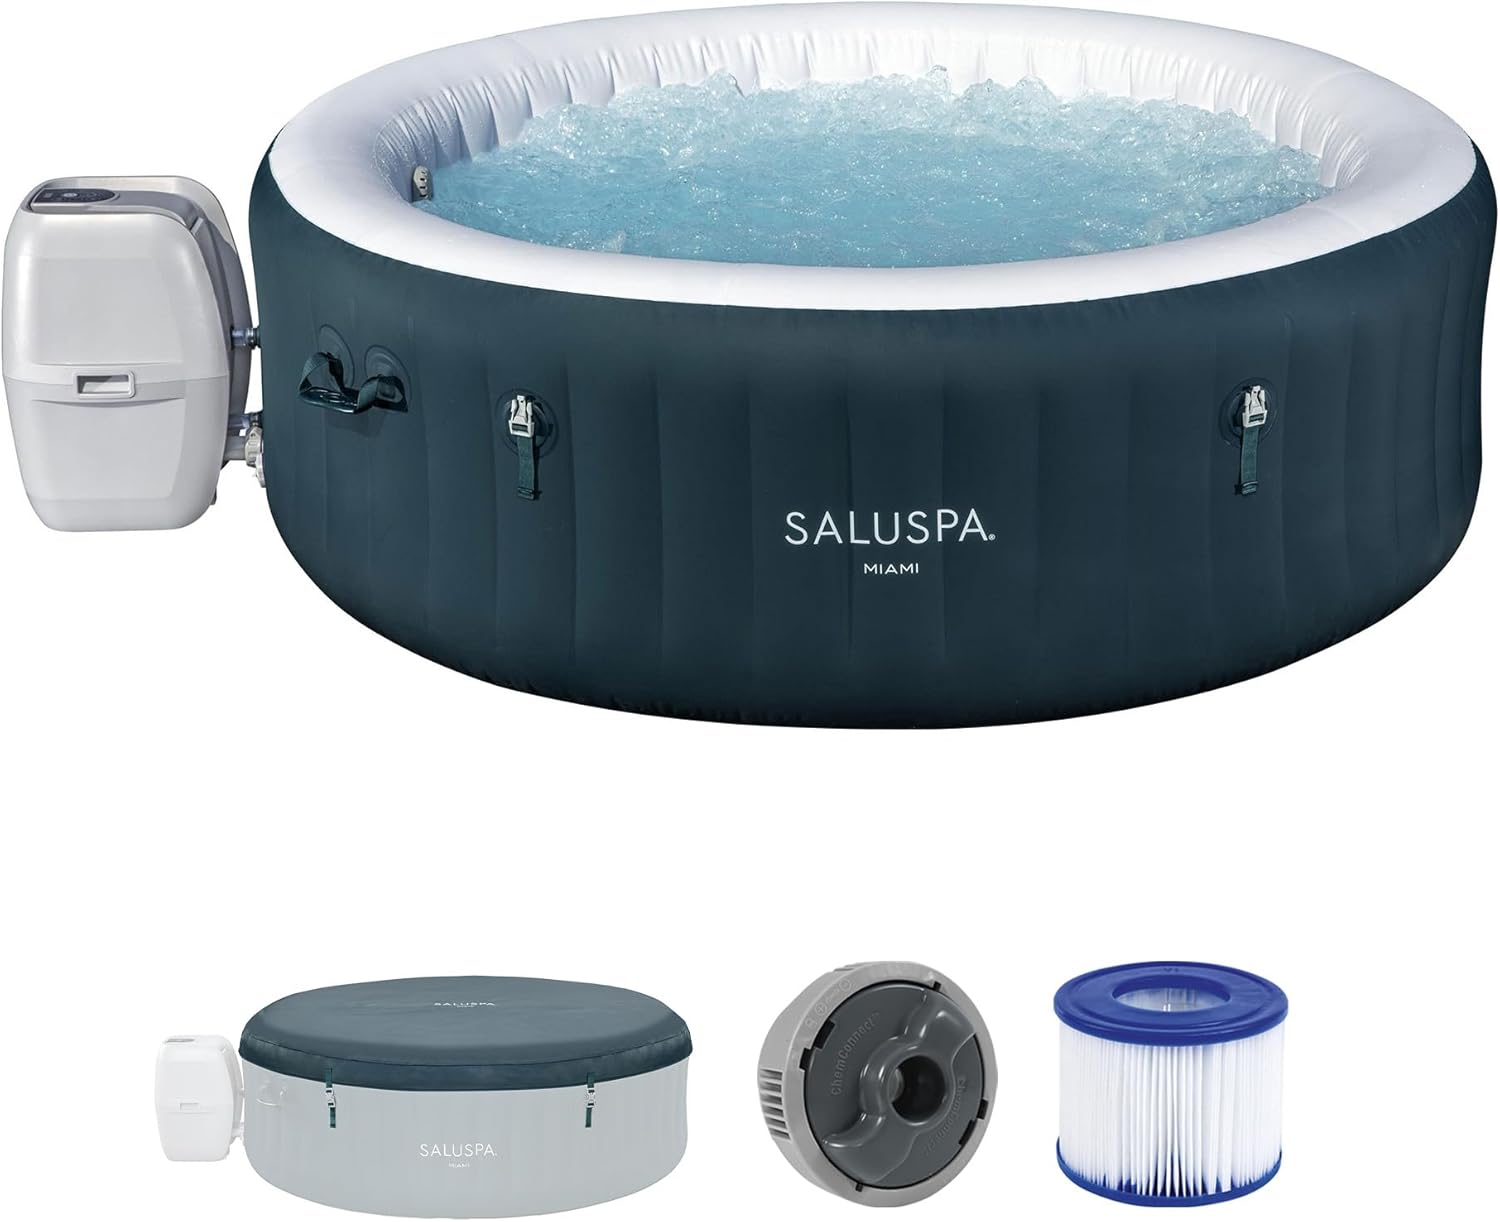
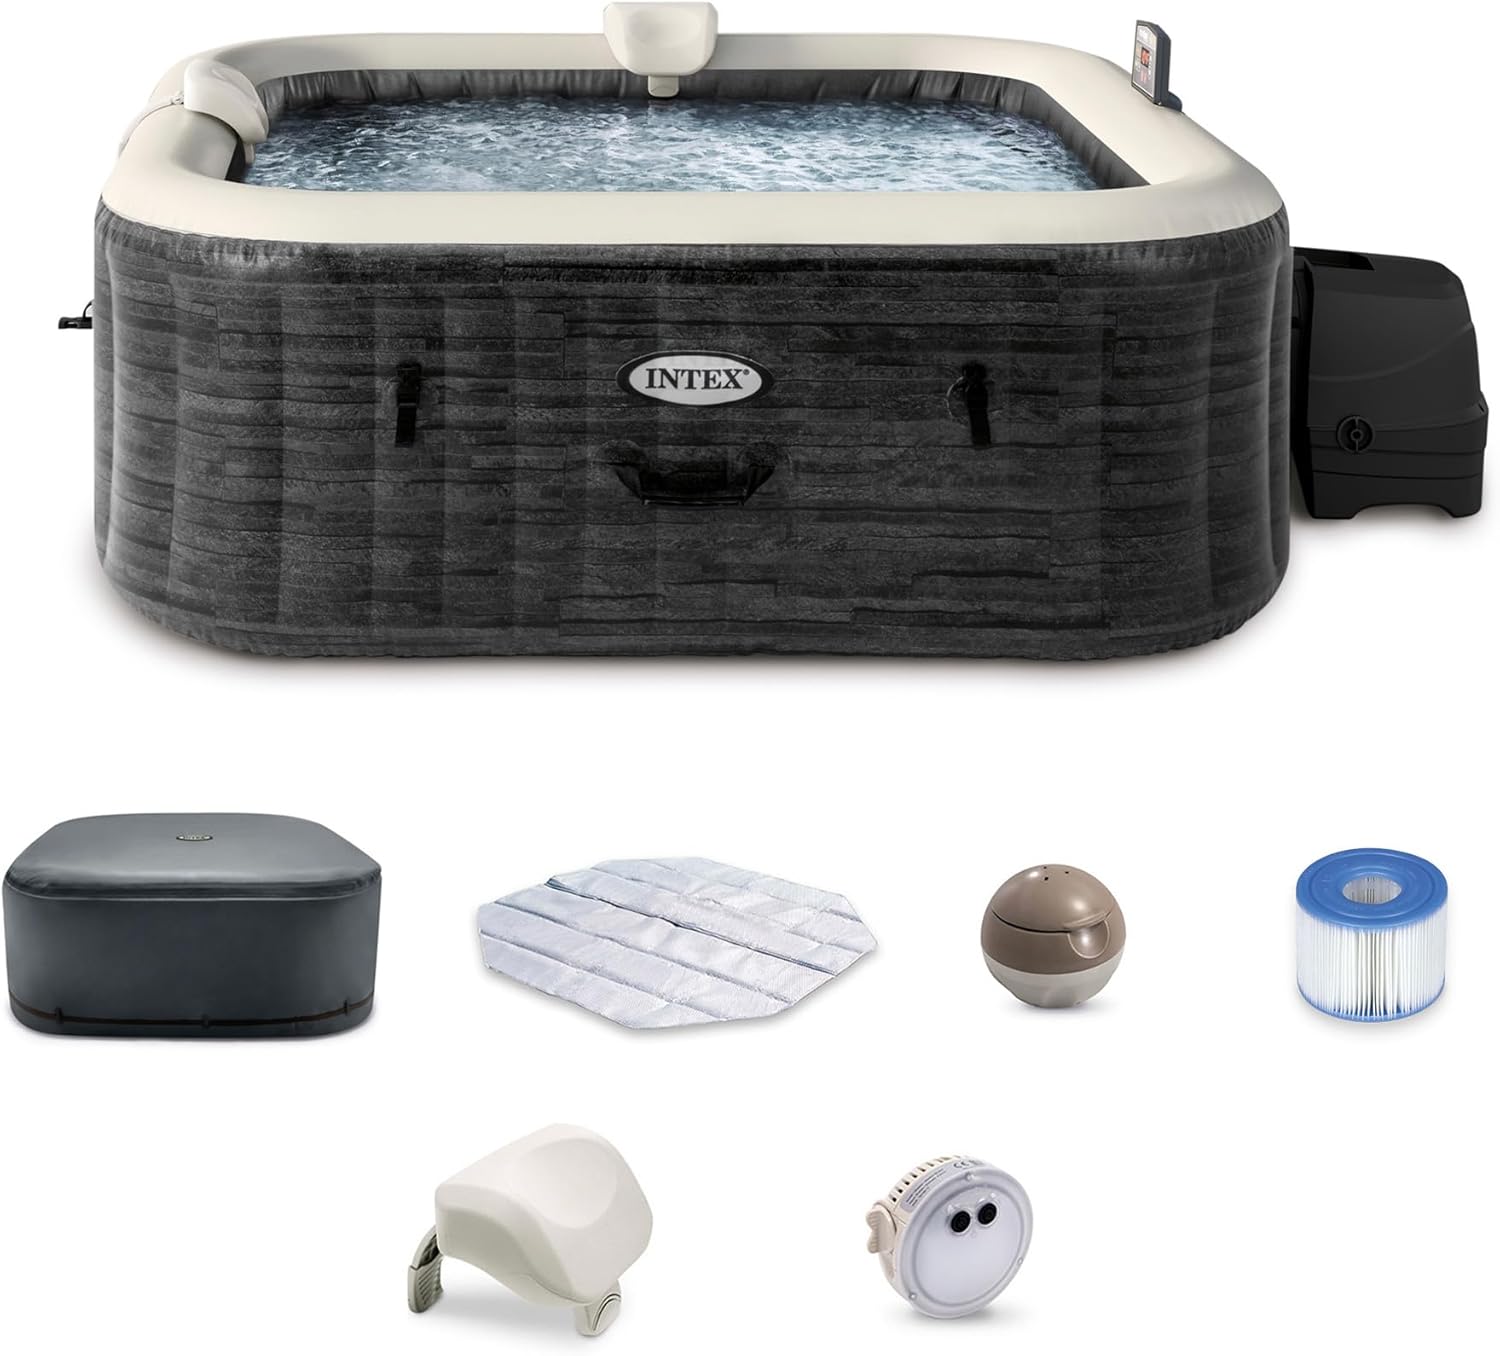
If the idea of tearing out a wall to get a rigid tub downstairs scares you, consider an inflatable hot tub. They solve the two biggest problems:
- Access: They come in a box. You can carry it down the stairs yourself.
- Weight: They are lighter and hold less water, putting less stress on the floor.
- Power: They usually plug into a standard 110V outlet, so no expensive rewiring is needed.
While they don’t have the same jet power as acrylic tubs, the ease of installation makes them the top choice for indoor setups. See our ranking of the best inflatable hot tubs of 2025 to find a model that fits your space.

Portable, durable, and plugs into a standard wall outlet. The easiest way to get a spa into a basement without construction.
Check Price on AmazonHow Much Does It Actually Cost?
The single biggest surprise for homeowners planning a basement spa is the gap between “the price of the hot tub” and “the price of the project.” A rigid acrylic hot tub itself might be quoted anywhere from $4,000 to $16,000 depending on jet count, brand, and seating capacity. That number rarely reflects what it takes to actually get the thing running safely two floors below grade. Once you add the wall removal, electrical sub-panel, drainage line, waterproof flooring, ventilation system, and finish work, most homeowners find the true all-in cost lands somewhere between $10,000 and $35,000 for a full remodel-grade installation.
It helps to break the budget into distinct buckets rather than looking at one lump figure, because each piece is priced and permitted separately by different trades.
| Cost Category | Typical Range | Notes |
|---|---|---|
| Hot tub unit (acrylic, 5-7 person) | $4,000 – $16,000 | Varies by jet count, brand, and energy efficiency rating |
| Inflatable hot tub | $400 – $1,200 | No structural work usually required |
| Wall removal / opening enlargement | $1,500 – $6,000 | Depends on whether the wall is load-bearing |
| Electrical sub-panel & 220V circuit | $800 – $2,500 | Licensed electrician required in most jurisdictions |
| Drainage / sump pump system | $600 – $3,500 | Higher if tying into a municipal sewer line |
| Waterproof flooring (tile or rubber) | $1,000 – $5,000 | Price scales with square footage of the room |
| Ventilation & dehumidification | $500 – $3,000 | Commercial dehumidifier plus ducted exhaust fan |
| Structural engineering assessment | $300 – $900 | Only required for raised wood subfloors |
A useful rule of thumb that contractors often repeat: for every dollar you spend on the tub itself, budget roughly another dollar for the room that has to house it. That “room tax” is the part people forget when they browse hot tub listings online and mentally lock in a number that never accounts for demolition, plumbing, or code compliance.
Regional Cost Variance
Labor costs for electricians, plumbers, and general contractors vary significantly by region, and that variance compounds quickly on a multi-trade project like this one. Homeowners in major metro areas on the coasts frequently report total project costs 30-50% higher than the national averages above, largely driven by labor rates rather than the price of the tub itself, which is set nationally by the manufacturer. Rural and lower cost-of-living areas tend to land at or below the low end of the ranges shown, especially if a general contractor is willing to sub out just the specialty electrical and plumbing work rather than staffing the entire job with a full crew.
Financing the Project
Because a full basement hot tub build blurs the line between “buying an appliance” and “doing a home renovation,” financing options tend to mirror general remodeling financing rather than typical retail installment plans. Common paths include a home equity line of credit (HELOC), a personal loan, 0% promotional financing offered directly through some hot tub dealers for the unit itself (which usually does not cover the construction costs), or simply paying contractors in the staged draws typical of any remodeling contract. If you’re financing through a HELOC or home equity loan, it’s worth noting that permitted, code-compliant improvements like this one are generally viewed favorably by appraisers and lenders compared to unpermitted work, which reinforces the earlier point about not skipping the permit process.
Permits, Codes & Insurance
Because a basement hot tub touches electrical, plumbing, and structural systems simultaneously, most municipalities treat it as a full remodel rather than a simple appliance swap. Skipping the permit process is one of the most common — and most expensive — mistakes homeowners make.
What Typically Requires a Permit
- Electrical work: Any new 220V/240V circuit or sub-panel almost always needs an electrical permit and inspection.
- Plumbing/drainage: Tying a drain line into your home’s waste system, or installing a new sump pit, typically requires a plumbing permit.
- Structural changes: Removing or altering a load-bearing wall to allow delivery access requires a building permit and often a stamped engineering letter.
- Egress requirements: If you’re finishing the basement into a livable “wellness room,” some jurisdictions require an egress window nearby, especially if the space could later be classified as a habitable room.
Building departments care about this because an unpermitted hot tub is a genuine safety issue for the next owner of the home — hidden water damage, undersized electrical wiring, and improperly vented moisture are all things a home inspector will eventually catch. If problems surface after an unpermitted installation, insurance claims for related water damage can be denied outright.
Working With Your Local Building Department
Every municipality interprets these rules slightly differently, so the only reliable approach is to call your local building department before you buy anything. Bring the manufacturer’s specification sheet (water weight, amperage draw, footprint) to that conversation — it lets the plan reviewer tell you immediately whether your basement, as currently built, is even a candidate for this project.
What the Inspection Process Actually Looks Like
Most jurisdictions require at least two separate inspection visits for a project of this scope: a rough-in inspection after the electrical and plumbing lines are run but before walls are closed up, and a final inspection once everything is complete and the tub is ready to be filled. The rough-in inspection is the more important of the two from a risk standpoint, since it’s the last point at which an inspector can visually confirm wiring gauge, breaker sizing, and drain slope before it all disappears behind tile and drywall. Skipping this step, even informally, removes your last real opportunity to catch a wiring or plumbing mistake before it’s sealed inside a wall.
Drainage Systems Explained: Sewer vs. Sump vs. Greywater
Draining a filled hot tub is not like emptying a bathtub. A mid-size tub holds somewhere between 300 and 500 gallons; a large seven-person model can hold close to 600 gallons. That volume needs somewhere reliable to go every time you do a routine water change, which most manufacturers recommend every 3 to 4 months.
Option 1: Direct Sewer Connection
The cleanest long-term solution is a dedicated drain line tied directly into your home’s sewer or septic system, usually through a floor drain installed in the spa room itself. This is the most expensive option upfront because it involves cutting into the slab and running new plumbing, but it’s also the most “set and forget” — you simply open a valve and let gravity or a small pump do the work.
Option 2: Sump Pit and Pump
If a direct sewer tie-in isn’t feasible, many homeowners route the drain hose into an existing sump pit. This works, but with an important caveat: sump pits are designed to handle groundwater seepage, not a sudden 400-gallon dump in a short window. Draining too quickly can overwhelm the pit and trigger the pump to cycle constantly, shortening its lifespan. The safer approach is a slow-drain valve that releases water gradually over several hours rather than all at once.
Option 3: Greywater Discharge (Where Legal)
Some municipalities classify hot tub water as greywater and permit it to be discharged onto the lawn or into a dry well, since it’s typically just water treated with chlorine or bromine at low concentrations. This is the cheapest option, but it is not legal everywhere — some cities require dechlorination before outdoor discharge, and others prohibit it near basements entirely due to foundation drainage concerns. Always confirm with your local water authority before assuming this route is available to you.
Why Local Rules Vary So Much
Greywater and wastewater rules are set at the city or county level in most of the country, which is why one homeowner’s neighbor two towns over might be draining straight onto the lawn with no issue, while another municipality treats any hot tub discharge as regulated wastewater requiring a sewer connection. The deciding factors are usually tied to local soil drainage characteristics, proximity to wells or waterways, and whether the municipality has a combined sewer system that’s prone to overflow during storms. None of this is something you can safely infer from a neighbor’s setup or a forum post — a five-minute call to your local water or public works department before finalizing your drainage plan is the only reliable way to know your specific rules.
| Drainage Method | Upfront Cost | Best For |
|---|---|---|
| Direct sewer/floor drain | $1,500 – $3,500 | Permanent, high-use installations |
| Sump pit with slow-drain valve | $300 – $900 | Basements with an existing sump system |
| Greywater to yard (where legal) | $100 – $300 | Homes with direct exterior access nearby |
| Manual pump-and-hose to window | $50 – $150 | Renters or temporary inflatable setups |
Choosing the Right Size Hot Tub for a Basement
Above ground, size is mostly a matter of preference. Below ground, it becomes a math problem involving door widths, stairwell turning radii, floor load capacity, and ceiling height all at once. Getting the sizing decision right before you fall in love with a specific model will save you from a very expensive surprise on delivery day.
Small (2-3 Person) Spas
These typically hold 150 to 250 gallons of water and weigh 300 to 500 lbs empty. They’re the most realistic option for basements with limited floor space or a raised wood subfloor that can’t take unlimited point loads. Many “plug-and-play” 110V models fall into this category, which also sidesteps the need for a dedicated 220V circuit.
Medium (4-5 Person) Spas
This is the sweet spot for most finished basements — enough room for a couple plus guests, while still holding in the 300 to 400 gallon range. Expect these to require a 220V/50A circuit and a concrete or reinforced floor.
Large (6-8 Person) Spas
These often exceed 500 gallons and can weigh over 5,000 lbs filled. Very few basements can accommodate one without significant structural reinforcement, and delivery access becomes the limiting factor almost every time — most large acrylic shells simply cannot make it around a standard staircase turn.
The Diagonal Measurement Trick
Dealers and delivery crews often use a simple diagonal measurement to quickly rule models in or out for a tricky basement: measure the diagonal distance across the tightest turn in the delivery path (usually a stairwell landing or a hallway corner) and compare it against the hot tub’s longest dimension, typically its length. If the tub’s length exceeds that diagonal measurement by more than a few inches, it generally cannot be rotated through that turn regardless of how it’s tilted or angled — a useful gut check to run before you get emotionally attached to a specific model online.
Designing a Dedicated Spa Room
Once the structural and mechanical questions are answered, the fun part begins: deciding what kind of space you actually want to build around the tub. Homeowners generally land in one of two camps — a purely functional utility approach, or a fully designed wellness retreat with matching finishes.
Functional Approach
This is the budget-conscious route: waterproof flooring, a dehumidifier, an exhaust fan, and basic lighting. It gets the job done without a large design investment, and it’s the right call if the hot tub is a secondary feature of a multi-use basement rather than the main event.
Wellness Retreat Approach
For homeowners treating this as a true home spa, the room design often includes:
- Heated tile flooring to keep bare feet warm on the walk from the tub to a towel station.
- A dedicated shower for rinsing off before and after soaking, which also reduces how much lotion, oil, and skin debris ends up in the tub’s filter.
- Ambient lighting on a dimmer, since basements lack natural light and harsh overhead fixtures can undercut the relaxing atmosphere.
- Sound system or weatherproof speakers rated for high-humidity environments.
- A small fridge or bar cart for drinks, positioned away from any splash zone.
- A cedar or tile accent wall both for aesthetics and because those materials tolerate humidity far better than painted drywall.
If your basement has a walk-out door to a patio or yard, that’s worth prioritizing as the “front door” for both design and drainage purposes — it becomes the natural path for hose access, ventilation, and eventually, if you ever sell the home, it reads as a legitimate indoor-outdoor spa rather than a tub crammed into a mechanical room.
Electrical & Lighting Layout
Beyond the dedicated 220V circuit for the tub itself, plan for GFCI-protected outlets well away from the splash zone for phone chargers, speakers, or a humidifier-safe reading lamp. Recessed, damp-rated fixtures are the standard choice for basement spa ceilings, since standard fixtures aren’t rated for the humidity levels a hot tub produces. A dimmer switch is worth the small additional cost — basements have no natural light to fall back on, and the difference between a bright overhead flood and a dimmed, warm-toned light is often what makes the room feel like a spa rather than a laundry room with a tub in it.
Storage & Practical Touches
Towels, robes, water testing kits, and pool chemicals all need a home somewhere in the room, ideally in a cabinet or shelving unit made from moisture-tolerant materials rather than standard particleboard furniture, which will swell and warp in a high-humidity environment over time. A wall-mounted towel warmer is a popular add-on in colder climates, and a small bench or stool near the tub’s entry step makes getting in and out considerably easier, particularly for older family members or anyone with mobility considerations.
Water Chemistry & Odor Control Indoors
Sanitizing chemistry choices matter more indoors than outdoors, because any odor has nowhere to dissipate except into the rest of your finished basement — and from there, potentially up into the living areas above through shared HVAC returns.
Chlorine
Effective and inexpensive, but the strongest smelling of the three common options. In a basement without excellent exhaust ventilation, chlorine odor can linger noticeably in nearby rooms, especially right after shocking the water.
Bromine
Bromine is gentler on the nose and skin, and it remains effective at the higher water temperatures typical of hot tub use (chlorine breaks down faster in hot water). Most indoor installation guides recommend bromine specifically because of its lower odor profile.
Saltwater Systems
A saltwater chlorine generator produces chlorine on demand at very low concentrations, which many users find nearly odor-free compared to traditional chlorine dosing. The tradeoff is a higher upfront cost for the salt cell system and slightly more involved maintenance.
| Sanitizer | Odor Level | Cost | Best For Basements? |
|---|---|---|---|
| Chlorine | High | Low | Only with strong ventilation |
| Bromine | Low-Medium | Medium | Yes — most common indoor choice |
| Saltwater | Low | High upfront | Yes — best long-term comfort |
Why Indoor Air Quality Makes Chemistry More Important
Outdoors, wind and open air constantly dilute any off-gassing from your sanitizer of choice. Indoors, that same off-gassing has nowhere to go except into the air your family breathes throughout the rest of the basement, and potentially further into the house if the HVAC return is anywhere nearby. This is part of why many indoor hot tub owners test water chemistry slightly more often than they would outdoors — staying within the tighter end of the recommended sanitizer range keeps both the smell and any airborne byproducts to a minimum, rather than letting levels drift and then over-correcting with a large shock dose that produces a strong, noticeable odor for the rest of the day.
DIY vs. Hiring a Licensed Contractor
It’s tempting to treat this like any other appliance install, but a basement hot tub sits at the intersection of three licensed trades: electrical, plumbing, and sometimes structural carpentry. Cutting corners on any one of them creates a real safety hazard, not just a cosmetic one.
What You Can Reasonably DIY
- Selecting and laying waterproof flooring (with proper underlayment and moisture barrier)
- Painting or installing moisture-resistant wall panels
- Assembling and running an inflatable, plug-and-play hot tub on an existing 110V outlet
- Interior design elements — lighting, shelving, decor
What You Should Not DIY
- Electrical: A miswired 220V/50A circuit near standing water is a serious shock and fire hazard. This is a licensed-electrician job in virtually every jurisdiction.
- Structural wall removal: Even a seemingly small opening enlargement can compromise a load-bearing wall without proper header support.
- Sewer/drain tie-ins: Cross-connections with a home’s main plumbing done incorrectly can introduce contamination risks and typically require a licensed plumber and permit sign-off.
What to Expect When Hiring Each Trade
Getting comfortable with what each specialist actually does — and roughly what they charge — makes it much easier to evaluate contractor bids and avoid overpaying for bundled services you could reasonably split out.
- Electrician: Typically bills a flat project rate for running a new circuit and sub-panel, often in the $800-$2,500 range depending on distance from the main panel and whether the panel itself needs upgrading. Expect them to also pull the required electrical permit as part of their scope.
- Plumber: Handles fill lines, drain tie-ins, and any sump pit modifications. Costs vary the most of any trade here, from a few hundred dollars for a simple sump pit connection to several thousand for a full sewer tie-in requiring slab cutting.
- General Contractor / Carpenter: Manages wall openings, framing, and coordinating the other trades if you’re not acting as your own project manager. Many homeowners find that paying a general contractor a coordination fee is worth it purely to avoid scheduling conflicts between the electrician, plumber, and flooring installer.
- Structural Engineer: A one-time consultation fee, usually a few hundred dollars, that either clears you to proceed on a raised subfloor or flags reinforcement that’s needed before the tub goes in.
Combining a Hot Tub with Saunas & Cold Plunges
Basement spa projects increasingly go beyond a single hot tub. Contrast therapy — alternating between heat and cold — has become one of the most requested basement upgrades alongside the tub itself, and many of the plumbing and ventilation systems can be shared across all three features if planned together from the start.
Adding a Sauna
Unlike a hot tub, a sauna doesn’t add significant plumbing complexity — there’s no water to drain. However, it does add its own ventilation, heat-shielding, and vapor-barrier requirements, and the electrical draw for an electric sauna heater is often comparable to the hot tub itself. If you’re already opening walls and pulling permits for the tub, it’s usually far cheaper to rough in the sauna’s electrical at the same time rather than as a separate project later.
Adding a Cold Plunge
Cold plunges are mechanically simpler than hot tubs (no heater load, lower amperage chiller units) but still need their own drain and fill lines. Placing the plunge and the hot tub on the same waterproofed pad, with a shared drain trench between them, is the most common layout in basement “contrast therapy” builds.
If you’re planning any of these combinations, it’s worth discussing all three fixtures with your contractor and electrician at the same time, since the total amperage draw across a hot tub, sauna heater, and cold plunge chiller can require a panel upgrade rather than just a sub-panel.
Typical Layout Considerations
Most contrast-therapy basement builds arrange the hot tub and cold plunge on the same waterproofed pad with a shared drain trench between them, while the sauna sits on a separate, dry section of the room specifically insulated to keep its heat from interfering with the cooler, more humid environment around the tub and plunge. Keeping a few feet of dry, non-slip walking surface between the wet zone and the sauna entrance also reduces how much water tracks into a space that’s designed to stay dry and heat-retentive.
Incremental Cost of Adding Each Feature
Homeowners often ask whether it’s cheaper to add a sauna or cold plunge at the same time as the hot tub, versus later as a separate project. In almost every case documented, doing it together is meaningfully cheaper — a standalone sauna addition later can cost $4,000-$10,000 partly because it requires reopening finished walls and flooring that were only just completed for the hot tub. Roughing in conduit, drain stubs, and structural support for a future feature during the original build, even if you don’t install the second fixture right away, is a comparatively small additional cost that can save a substantial amount if you do decide to add it later.
Noise, Vibration & Neighbor Considerations
A detail that rarely comes up until after installation: hot tub pumps and jets produce a low mechanical hum and vibration that transmits differently through a concrete slab than it would through open-air outdoor installation. If your basement shares a wall with a neighbor (in a townhouse or duplex) or sits beneath a bedroom, vibration transfer is worth addressing at the design stage rather than after the fact.
- Isolation pads: A rubber isolation mat under the tub’s base reduces vibration transfer into the slab significantly more than a standard hot tub pad alone.
- Pump placement: Some acrylic tubs allow the equipment bay to be oriented away from shared walls — worth requesting at the point of purchase if you live in an attached home.
- Running schedule: Many owners set their heater and filtration cycles to run during daytime hours only, reducing any noise complaints during typical sleeping hours in an attached unit.
Room Acoustics
Tiled spa rooms are notoriously reflective spaces acoustically — hard tile floors, tile walls, and a lack of soft furnishings mean any pump hum or splashing sound bounces around rather than getting absorbed. A few acoustic panels disguised as decorative wall art, or a slatted wood accent wall with absorptive material behind it, can noticeably cut down on the “echo chamber” feeling in an otherwise fully tiled room without compromising the waterproofing of the space.
Talking to Neighbors Before You Build
In attached housing, a short conversation with the adjoining neighbor before construction begins — letting them know a hot tub is going in and roughly what hours it’ll typically run — tends to prevent far more friction than dealing with a surprise complaint after the fact. It also gives you an early, low-stakes opportunity to ask whether they can hear anything from a similar fixture in their own unit, which is often the most reliable real-world data point you’ll get about how sound travels through that particular shared wall.
Resale Value & Home Insurance Impact
A well-built, permitted basement spa room can be a genuine selling point — buyers touring a finished basement with a proper wet room, tile, and ventilation see a move-in-ready amenity. An unpermitted installation reads the opposite way: home inspectors are trained to look for signs of water intrusion around any basement fixture holding hundreds of gallons, and undisclosed unpermitted electrical work is one of the most common items that kills a deal or forces a price renegotiation during closing.
From an insurance standpoint, two things matter most: making sure the installation is permitted and inspected, and notifying your carrier so any endorsement or rider related to water damage is in place before, not after, an incident. Some policies also ask about “personal property attached to the structure” thresholds that a large built-in spa can trigger.
Real Basement Installations: What Homeowners Actually Ran Into
Beyond the theory, it helps to see how these projects tend to play out in practice. A few patterns show up again and again across homeowner accounts of basement hot tub and cold plunge builds.
The Walk-Out Basement Advantage
Homes with a walk-out basement — meaning a basement with a ground-level exterior door rather than only interior stairs — consistently report the smoothest installs. Delivery access is simple, ventilation can vent directly outside through a nearby wall rather than up through the house, and drainage can run straight out to grade in jurisdictions where greywater discharge is allowed.
The Waterproofing-First Build
Several documented basement projects treat the entire spa footprint like a shower pan before anything else goes in: a fully tanked, waterproof membrane under the tile, run several inches up the walls, with a floor drain built into the low point of the slope. This “worst-case-first” approach assumes some water will always escape past the tub’s edge during normal use, and it’s designed to handle that reality rather than hope it never happens.
The Retrofit Surprise
A common thread in project write-ups involving older homes: what looked like a simple hot tub installation turned into a bigger renovation once a contractor opened the wall and found outdated wiring, no vapor barrier, or a subfloor that couldn’t be verified without further demolition. Homeowners who budgeted a 15-20% contingency on top of their initial quote were the ones who weren’t caught off guard by these mid-project discoveries.
The Shared-Wall Compromise
In attached homes — townhouses, duplexes, and rowhouses — a recurring theme is the need to compromise on tub placement to avoid a shared wall with a neighbor’s living space. Several project accounts describe relocating the planned tub position by just a few feet, away from a party wall and closer to an exterior or garage-adjacent wall, specifically to reduce pump vibration and noise complaints. The lesson generally repeated is that this kind of adjustment is far easier to make on paper during the design phase than after the concrete has been poured and the tile is set.
The Phased Build
Not every homeowner tackles the full spa room in one pass. A number of projects describe a phased approach: get the tub itself installed and functional first, with basic waterproof flooring and adequate ventilation, then return a year or two later to add the tile accent wall, built-in shelving, sound system, and other finish-level details once the budget allows. This approach spreads the cost over time but does mean living with a more utilitarian-looking room in the interim — a reasonable tradeoff for homeowners who want to start using the tub sooner rather than waiting for a fully finished reveal.
Choosing a Shell Type for Indoor Use: Acrylic vs. Rotomolded vs. Inflatable
The shell material affects not just price and durability, but also how realistic the basement installation itself is, since each type behaves very differently during delivery.
Acrylic Shells
These are the traditional, rigid, high-end hot tub shells most people picture when they think “hot tub.” They offer the strongest jets, the most seating configurations, and the longest lifespan, but they are also completely rigid and typically the largest and heaviest option — making them the hardest to maneuver down a stairwell or through a standard doorway.
Rotomolded Shells
Rotomolded (single-piece plastic) spas are lighter and slightly more flexible than acrylic, and some smaller rotomolded models are marketed specifically as “portable” options that a couple of people can carry, unlike a full acrylic shell that typically requires a dedicated delivery crew and rigging equipment. They generally have fewer jets and a shorter expected lifespan than acrylic, but for a basement where delivery access is the binding constraint, that tradeoff is often worth it.
Inflatable Shells
As covered earlier in this guide, inflatable tubs solve the delivery problem entirely since they ship in a box and can be carried down any staircase. Their tradeoffs are weaker jets, a shorter typical lifespan, and less structural durability over years of continuous filling and draining. For a basement, however, this is frequently the single biggest factor that determines whether the project is even feasible without a significant construction budget.
| Shell Type | Delivery Difficulty | Typical Lifespan | Jet Quality |
|---|---|---|---|
| Acrylic | Hardest — rigid, large, heavy | 15-20+ years | Strongest, most configurable |
| Rotomolded | Moderate — lighter, some models portable | 8-12 years | Moderate |
| Inflatable | Easiest — ships in a box | 3-7 years | Basic bubble jets |
Ongoing Maintenance Checklist for a Basement Hot Tub
Indoor installations actually demand a slightly more disciplined maintenance routine than outdoor ones, since every skipped step has a direct path to your home’s structure rather than dissipating into open air.
| Task | Frequency |
|---|---|
| Test and adjust water chemistry (pH, sanitizer level) | 2-3 times per week |
| Check and empty dehumidifier reservoir (if not plumbed to a drain) | Weekly |
| Inspect filter cartridge and rinse | Every 2-4 weeks |
| Wipe down waterline and check for mold/mildew on walls | Weekly |
| Full water drain, clean, and refill | Every 3-4 months |
| Inspect exhaust fan and ductwork for blockage | Every 6 months |
| Professional inspection of electrical connections | Annually |
The single highest-value habit is the weekly visual inspection of walls, trim, and any spot near the floor drain for early signs of moisture — a slightly darker patch of grout or a faint musty smell is far cheaper to address in week one than after it has spread behind a finished wall.
Climate Control & Energy Costs Year-Round
An outdoor hot tub’s insulation only has to fight the weather in one direction — keeping heat in against the cold air outside. An indoor basement hot tub creates a two-way climate problem: it’s constantly pushing heat and humidity out into a room, while your home’s HVAC system is simultaneously trying to keep that same room at a comfortable, dry temperature. Getting this balance wrong is why so many basement spa rooms end up either uncomfortably muggy or, if the dehumidifier is oversized, unpleasantly cold and clammy right next to a hot tub that’s steaming away at 102°F.
Running Costs to Expect
Three appliances typically run continuously or near-continuously in a finished basement spa room: the hot tub’s own heater and pump, the dehumidifier, and the exhaust fan. Together, these can meaningfully increase a home’s monthly electric bill, especially in colder climates where the hot tub heater has to work harder to maintain temperature in an unheated basement.
| Appliance | Typical Monthly Cost | Notes |
|---|---|---|
| Hot tub heater & pump | $30 – $75 | Higher in colder regions or with older, less-insulated tubs |
| Commercial dehumidifier | $15 – $40 | Runs more in humid summer months |
| Continuous exhaust fan | $5 – $15 | Lower draw, but ideally near-continuous for air exchange |
Well-insulated hot tub covers, a programmable thermostat on the dehumidifier, and timer-based exhaust fans (rather than fans left running 24/7 at full speed) are the three easiest levers for keeping these numbers toward the lower end of the ranges above.
Seasonal Humidity Swings
Don’t assume that once your dehumidifier is sized correctly, the job is done for good. Basement humidity shifts meaningfully by season — summer months bring higher ambient humidity from outside air infiltrating the foundation, while winter tends to dry the air out except for what the hot tub itself is adding. Many owners find they need to run the dehumidifier on a higher setting from roughly May through September and can back it off somewhat in the depths of winter, when the furnace is already pulling moisture out of the air throughout the house.
Common Mistakes Homeowners Make
After looking at how these projects tend to go wrong, a handful of avoidable mistakes show up again and again. Knowing them ahead of time is the cheapest insurance policy you can buy for this project.
1. Buying the Tub Before Measuring the Path
This is, by far, the most common and most expensive mistake. A homeowner falls in love with a specific model online, has it delivered, and only then discovers it cannot physically make the turn down the basement stairs. At that point, the choices are an expensive wall opening, a costly return/restocking fee, or a hot tub that lives in the garage instead of the basement it was bought for.
2. Underestimating Ventilation Needs
A standard bathroom exhaust fan rated for a small powder room is nowhere near sufficient for the volume of moisture a hot tub produces. Homeowners who install a “good enough” fan often find themselves retrofitting a proper commercial exhaust system a year or two later, after mold has already started to appear behind wall panels.
3. Skipping the Permit Process
It’s tempting to view a permit as a bureaucratic hurdle rather than a genuine safety check, especially when a contractor offers to do the work “off the books” for a lower price. The risk shows up later — at resale, during an insurance claim, or in the worst case, as an actual electrical or structural hazard that goes undetected until it causes damage.
4. Ignoring the Floor Load Rating
Concrete slab basements are almost always fine, but basements with a raised wood subfloor over a crawl space are a different story. Skipping a structural engineer’s assessment on a raised subfloor is a gamble that can end with a sagging or cracked floor under the concentrated weight of a filled tub.
5. Choosing the Cheapest Drainage Option Without Checking Local Rules
Draining greywater onto the lawn or into a storm drain feels like the simplest, cheapest option, but it isn’t legal everywhere, and get caught draining into a storm sewer in the wrong municipality and you may be looking at a fine on top of the cost of redoing the drainage properly.
6. Forgetting About Long-Term Access for Repairs
Hot tub pumps, heaters, and control panels eventually need service or replacement. If the equipment bay ends up sealed behind a permanent tile wall with no access panel, a routine repair years down the line can turn into a demolition project. Always build in a removable access panel sized to whatever the manufacturer specifies for service clearance.
7. Not Accounting for Delivery Day Logistics
Even after confirming the tub will physically fit through the path, homeowners are sometimes surprised by how much coordination delivery day itself requires — clearing furniture from hallways, protecting flooring along the route with cardboard or moving blankets, and in some cases needing a second crew or specialized dolly equipment for the final maneuver into the room. Confirming these logistics with the delivery company in advance, rather than assuming a standard two-person crew can handle a tight basement turn, avoids an awkward and potentially costly delay on the day the tub actually arrives.
8. Assuming All Contractors Are Equally Comfortable With This Type of Project
A general contractor who specializes in kitchen remodels may not have direct experience with the specific combination of waterproofing, drainage slope, and humidity control a spa room demands. Asking any contractor you’re considering for photos or references from a previous wet room, hot tub, or sauna project — not just general basement finishing work — is a reasonable and worthwhile screening question before signing a contract.
Step-by-Step Installation Timeline
For homeowners planning a full remodel-grade installation rather than a simple plug-and-play inflatable, it helps to see the rough order of operations. Actual timelines vary by region, contractor availability, and permit processing times, but this is a realistic sequence for a mid-size project.
- Weeks 1-2 — Assessment & Design: Measure delivery paths, consult a structural engineer if needed, and finalize the hot tub model, room layout, and finish materials.
- Weeks 2-4 — Permitting: Submit plans to the local building department for electrical, plumbing, and any structural permits. Processing time varies widely by municipality, from a few days to several weeks.
- Weeks 4-5 — Demolition & Rough-In: Open any walls needed for delivery access, rough in the new electrical circuit and drain line, and confirm placement of the sump pit or sewer tie-in.
- Weeks 5-6 — Waterproofing & Flooring: Install the waterproof membrane, slope the floor toward the drain, and lay tile or rubber flooring.
- Week 6 — Delivery & Placement: The hot tub arrives and is maneuvered into its final position — the moment all that earlier measuring either pays off or doesn’t.
- Weeks 6-7 — Electrical & Plumbing Final Connections: The electrician makes the final hookup to the sub-panel, and the plumber connects fill and drain lines.
- Weeks 7-8 — Ventilation & Finishing: Install the exhaust fan and dehumidifier, finish any wall paneling, lighting, and decor.
- Week 8 — Inspection & First Fill: Final inspection sign-off from the building department, followed by filling, balancing water chemistry, and letting the tub reach temperature for the first time (often 24-48 hours for a full heat-up from cold fill).
Basement vs. Garage vs. Outdoor: Where Should You Put It?
A basement isn’t the only indoor option, and it’s worth comparing it honestly against the alternatives before committing to the more complex build.
| Location | Delivery Access | Ventilation Difficulty | Typical Cost Premium |
|---|---|---|---|
| Basement | Hardest (stairs, narrow doors) | Hardest (no exterior wall access in many cases) | Highest |
| Garage | Easy (wide door, ground level) | Moderate (usually has an exterior wall nearby) | Moderate |
| Outdoor patio/deck | Easiest (crane or direct rigging access) | None needed | Lowest |
A garage installation often captures much of the appeal of an indoor spa — privacy, weather protection, no snow-covered walk to reach it — without the stairwell delivery problem or the total lack of an exterior wall for venting. If your basement genuinely has no walk-out access and no acceptable exterior wall nearby for an exhaust fan, it’s worth seriously comparing the garage as an alternative before committing to the more expensive and more difficult basement build.
Frequently Asked Questions
If you use chlorine, yes, you will likely smell that “pool scent” throughout the basement. Using Bromine (which has less odor) or a saltwater system can help minimize the chemical smell indoors.
It is highly recommended. If you don’t have one, you will need a submersible sump pump and a long garden hose to pump the water up and out a window or into a utility sink when draining.
You need enough clearance to open the cover fully. Usually, 7.5 to 8 feet is the minimum comfortable height. Remember that you step UP into a hot tub, so you don’t want to hit your head on the ceiling joists.
No. Floating floors (like click-lock vinyl) can buckle under the immense weight and moisture. Stick to concrete, tile, or glued-down rubber flooring.
In almost every jurisdiction, yes — at minimum for the electrical circuit, and often for plumbing and any structural wall changes as well. Contact your local building department before purchasing a tub to confirm exact requirements in your area.
Most full remodel-grade installations, including the tub, electrical, drainage, flooring, and ventilation, land between $10,000 and $35,000. An inflatable plug-and-play model with no construction can cost as little as $400-$1,200 total.
It can, but draining too quickly can overwhelm a standard sump pit designed for gradual groundwater seepage. Use a slow-drain valve to release the water gradually over several hours rather than dumping it all at once.
It can. Notify your insurance provider before installation, since some policies exclude water damage from unpermitted work, and large fixtures holding hundreds of gallons can affect certain coverage thresholds.
A properly permitted, well-ventilated spa room is generally seen as a valuable amenity by buyers. An unpermitted installation, on the other hand, can complicate a sale and may require disclosure or retroactive permitting.
A full remodel-grade installation, including permitting, demolition, electrical, plumbing, and finishing, typically takes 6 to 10 weeks from the start of construction. A plug-and-play inflatable model with no construction can be running the same day it’s delivered.
Often, yes. A garage typically offers easier delivery access through a wide door and usually has an exterior wall available for ventilation, both of which are common obstacles in basement installations.
Yes, and many basement wellness rooms do exactly this. Planning the electrical and plumbing for all three fixtures at once, rather than adding them one at a time, is usually more cost-effective and can require a panel upgrade rather than just a sub-panel.
Between the hot tub’s heater and pump, a dehumidifier, and an exhaust fan, most owners see an increase of roughly $50 to $130 per month on their electric bill, depending on climate and how well-insulated the tub and room are.